
A few years after we got the boat we found we needed to expand the 12V electrical system beyond the original installation that came with the boat. To that end, one of the first things we did was install an additional 12V circuit breaker panel, the subject of one of the very first posts to this blog site ( Additional 12V breaker panel ). Recently, we discovered the need to expand the system even more. A problem this time however was a lack of available space to mount another breaker panel near the existing ones. The original 12V system on the boat included a small fuse panel mounted near the floor under the Nav desk on the forward side. Because of the proximity to the battery compartment, this was a good location for a new panel. We wanted to use the same exact spot as the existing fuse panel, so the new breaker panel had to have enough breakers to replace the fuses we were removing in addition to supplying power to the new circuits we needed.
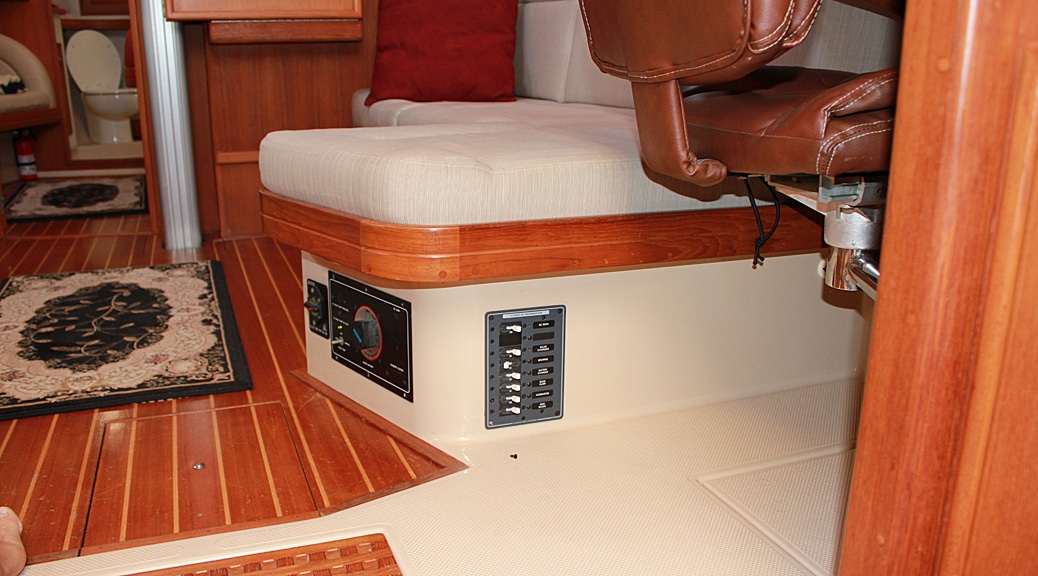
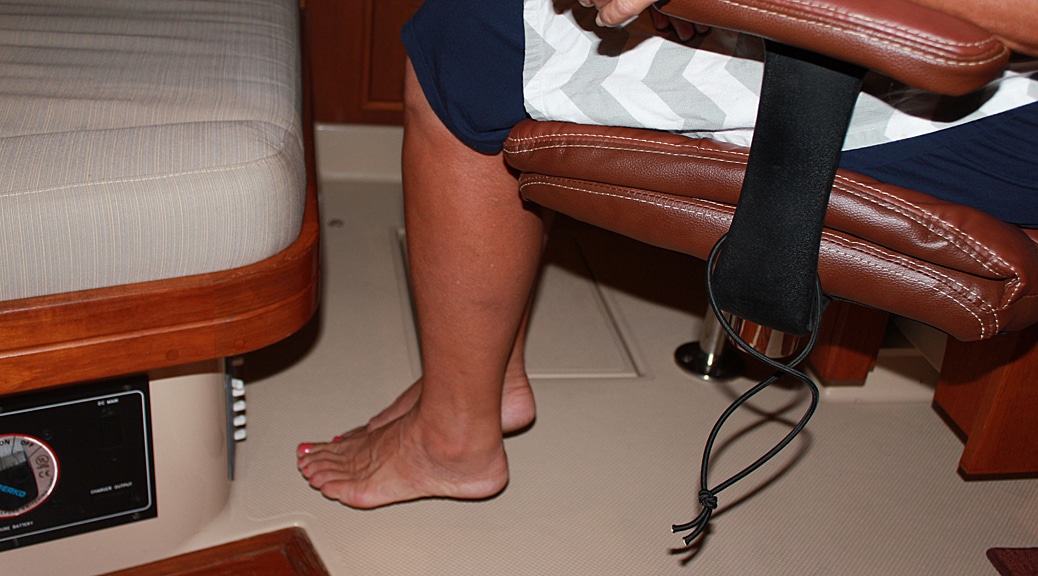
Everything went well with the installation and the panel works great, but we have had one nagging issue. While the location for the new panel was ideal from a wiring point of view, occasionally some of the breakers would accidently be tripped by our feet when getting into and out of the nav seat.
We needed some sort of guard or cover for the panel that would prevent our feet from kicking the breakers, but still let us see the state of the breakers from a distance. We tried a few simple solutions but they were either ineffective or aesthetically ugly. So once we enlisted Paula’s dad again (see all the “MortMade” posts in this blog) for both some ingenuity and beautiful woodwork.
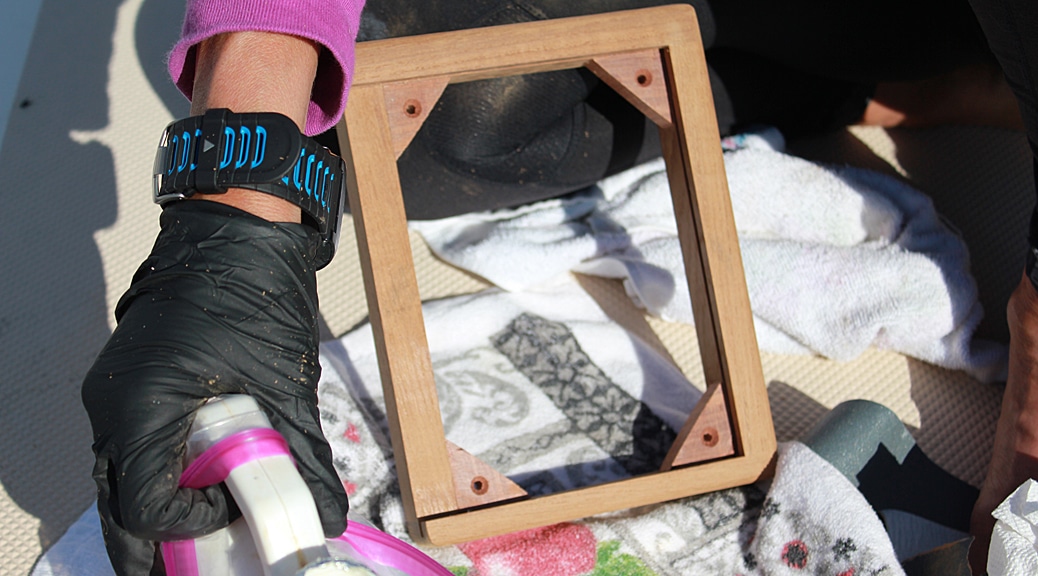
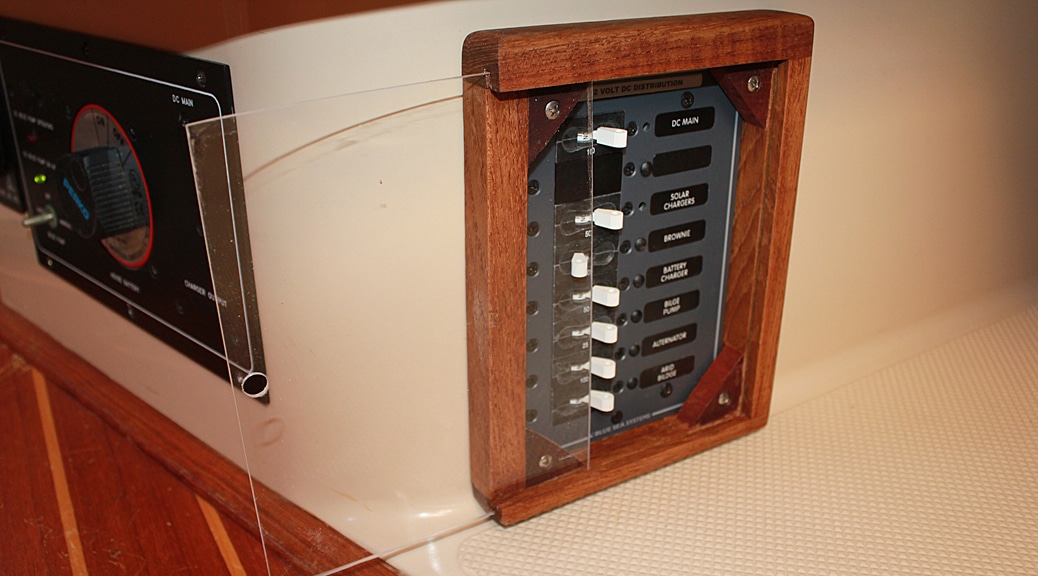
His idea was to build a teak frame that would surround the panel such that the panel would be inset behind the frame and the frame would be flush with the surrounding wall. He would also carve a channel in the top and bottom parts of the frame so that a piece of clear plexiglass could slide in from one side of the frame and cover all the breakers. We made a paper template of the panel for him to go by and sent some pictures of the area where the panel was mounted. A few weeks later we received a great looking teak frame with pre-drilled mounting holes that fit perfectly over the panel. The teak was unfinished, so Paula set about to wet sand in eight coats of oil once we got it back to the boat.
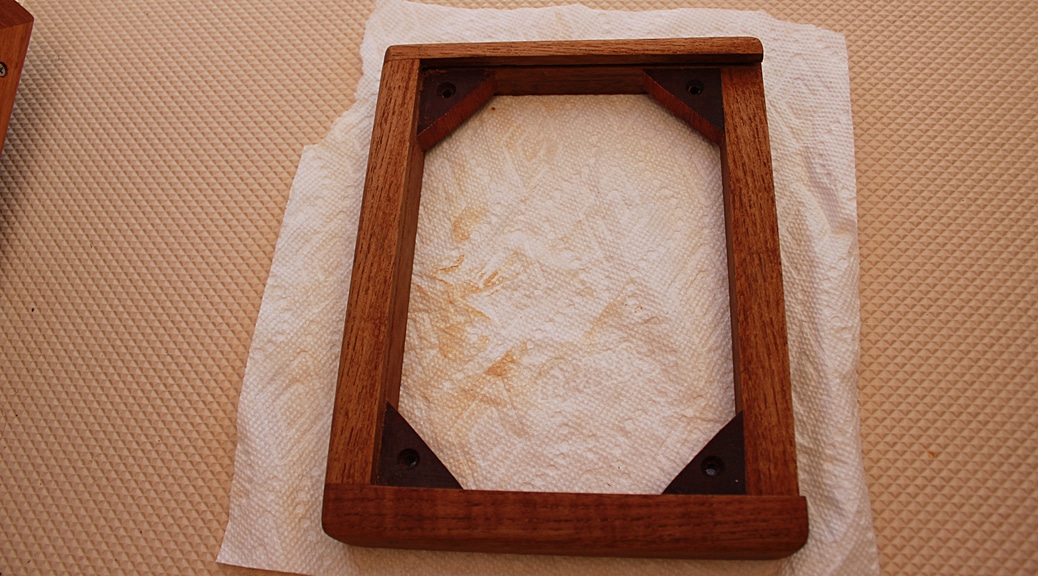
The result is a gorgeous breaker panel cover that is not only perfectly functional, but adds unexpected additional beauty to the interior of the boat.

3 Responses
I love three things about this post.
– Paula modeling her feet.
– The plexiglass solution
– The foresight to measure the breaker tripped to make sure the plexiglass would fit.
Jamie
Yes – Paula did the nail polish thing and all to look good! The plexiglass solution came completely from Paula’s dad, I can take no credit. But after he came up with the idea, I made sure to measure the breaker toggle max height as it switches.
Engineering in action. Great to hear that MacGyver (Pauls’s Dad) is alive and well.