
Before we left Maryland, we decided to replace all of our lifelines as we had noticed a lot of rust developing underneath the vinyl covering of the old ones. We didn’t want to take any chances on the trip south and this looked to be a reasonably straightforward do-it-yourself project. I say “reasonably” because, after thinking about it, we chose to incorporate a few additional modifications to the boat once we had the old lifelines off. The first of those was to add railing in place of lifelines around the entire cockpit area (the boat originally had railing only around the stern and a small part of each side of the cockpit). This accomplished several goals – 1) increased safety, 2) an additional sturdy thing to grab, 3) more rail mounting options for accessories. We used stock bimini frame hardware to do the job.
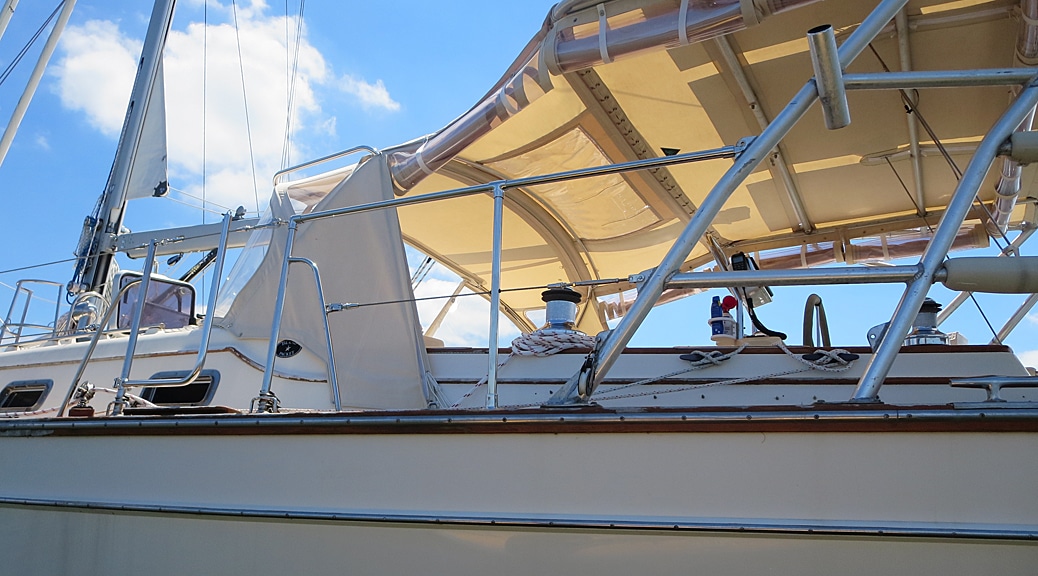
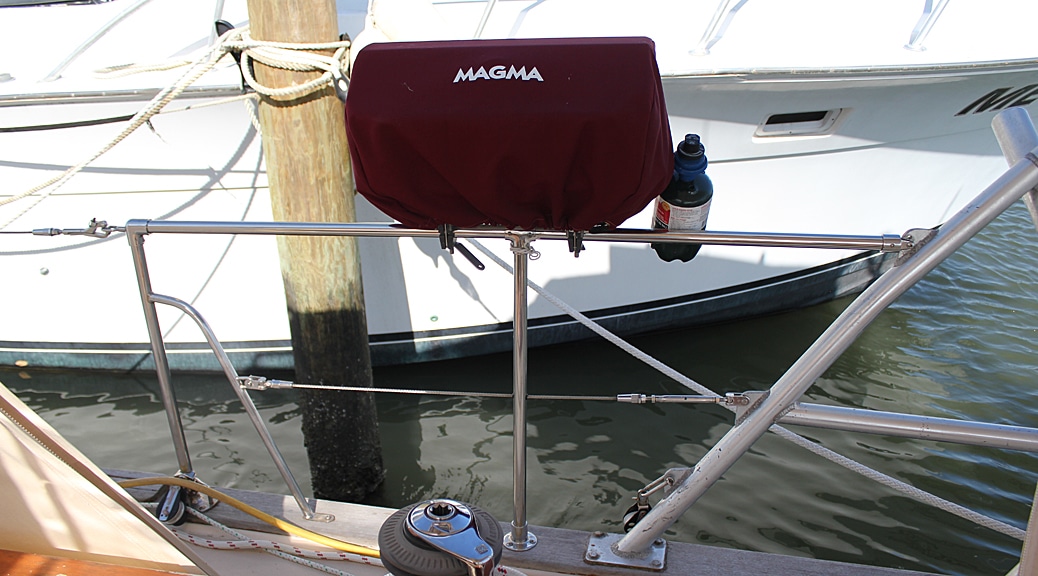
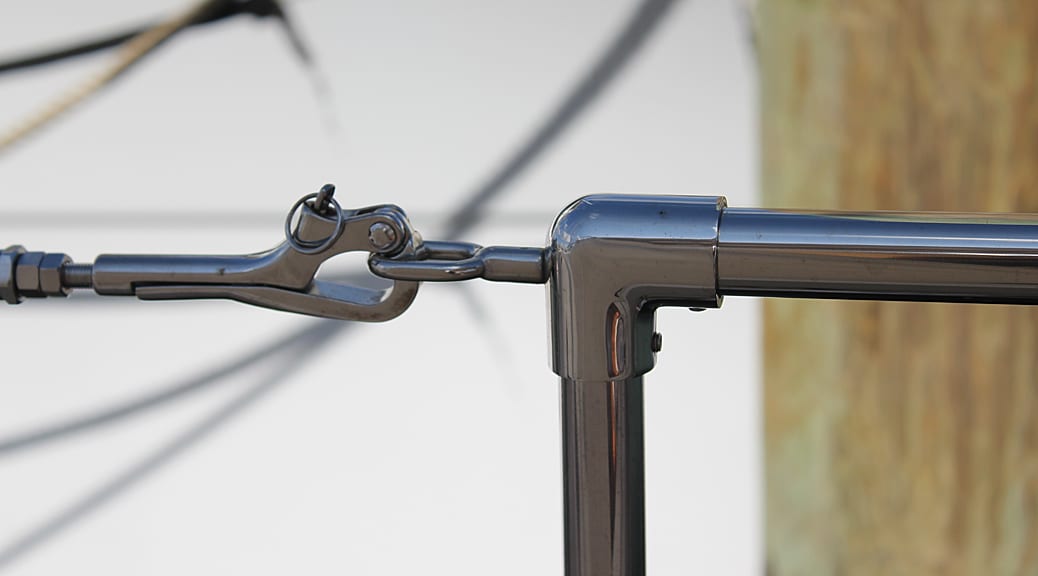
The only real challenge was connecting the ends of the new rail to our arch (aft end) and to the lifeline gate stanchion (forward end). The connection to the arch was simplified by an existing “tab” on the arch tube where the original lifeline connected. All we had to do was drill a slightly larger hole in the tab to accommodate the rail end cap fitting. The forward end connection to the existing gate stanchion was more complicated. Not only did the new rail have to securely connect to the stanchion, the lifeline gate “eye” had to be incorporated at that exact same spot. Drilling a hole at just the right place in a 90 degree elbow fitting, and enlarging the existing wire hole in the stanchion itself, allowed the eye bolt to feed all the way through both parts and be secured with a nut inside the elbow fitting. The bolt and nut had to be exactly centered inside the elbow so that when the rail tube was inserted it would “seat” all the way into the elbow, with the nut and bolt ending up inside the inserted rail tube. It turned out nicely.
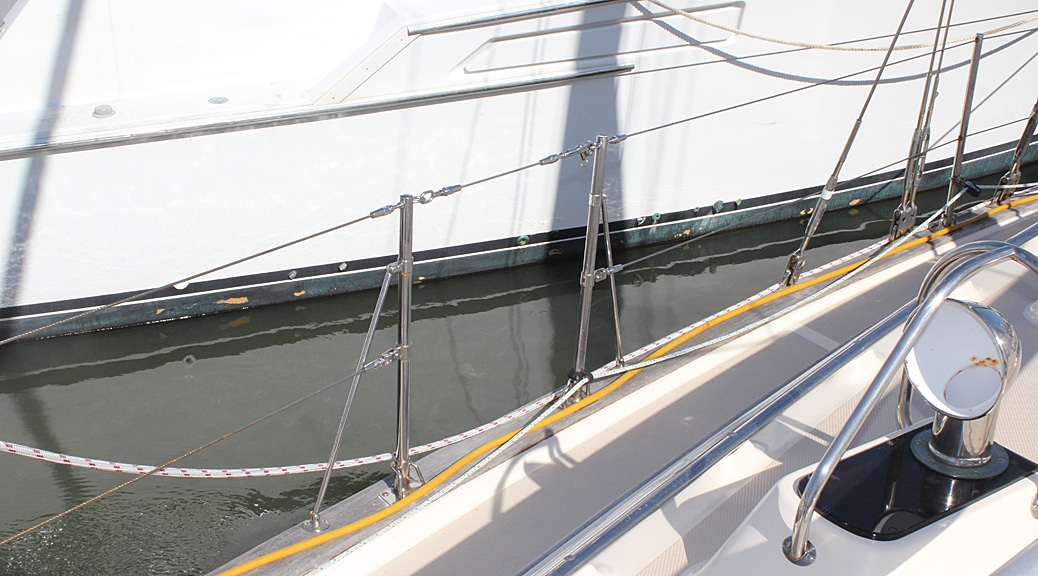
Next, we wanted to add an additional lifeline gate nearer to the forward end of the boat. The hardest part of this job was positioning the new stanchion base for the gate in such a way that its 4 deck bolts did not interfere with other existing bolts and screws in that area of the cap rail. We wanted a full backing plate underneath the new stanchion and that’s what dictated its final position.
For anyone else planning to add a stanchion to an Island Packet 420 (as well as most other models), be aware that the original stanchions are not standard sizes. Also, the bases are all at differing angles with the stanchions (not exactly 90 degrees) depending on where they’re mounted on the boat. Garhauer Marine will custom make the stanchions at a reasonable price and they are very familiar with the Island Packet specs.
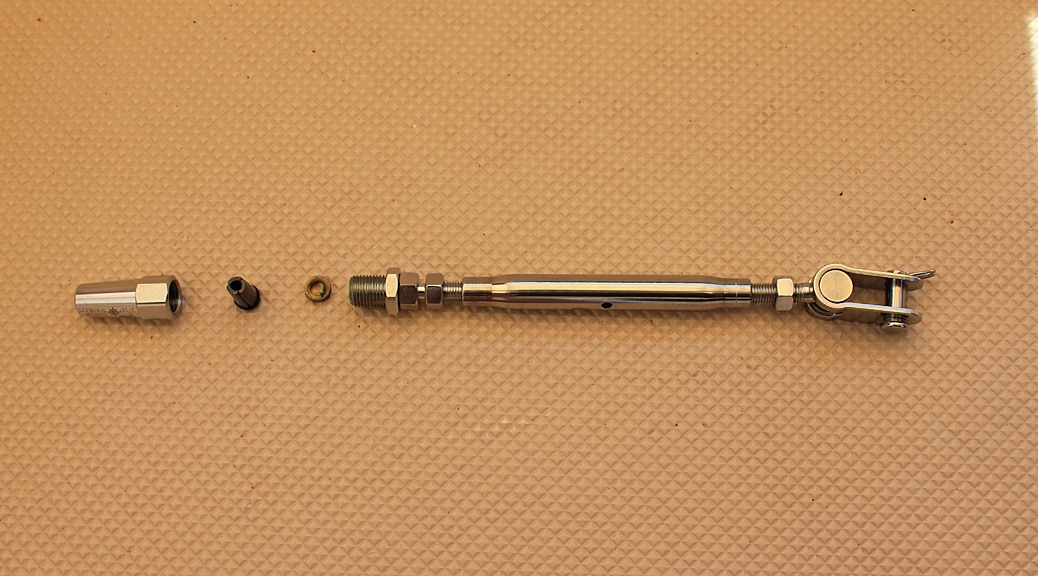
The rest of the lifeline project was made easy by using mechanical, as opposed to swaged, end fittings on the new wire. We opted to use 7×19 uncoated wire this time so we could directly observe the condition of the wire as it ages. We used SUNCOR mechanical fittings which were conveniently sold in a kit meant for adding a gate as well as separately. No special tools were required other than a good cable cutter for the 7×19 wire that leaves a nice clean edge without unraveling the wire.
One Response
Good for you. Improvements are always necessary similar to a house. Putting sound engineering principles to practice.