Projects and Upgrades

New Microwave Cabinet

When we bought C Ghost, it came with a small microwave oven tucked into a cubby hole that looked almost custom designed around the oven. We never thought much about it until a couple months ago when the oven started making weird noises and then stopped working. I replaced an internal fuse and got it going again, but only a few days later it stopped working for good after 17 years of service with two owners.
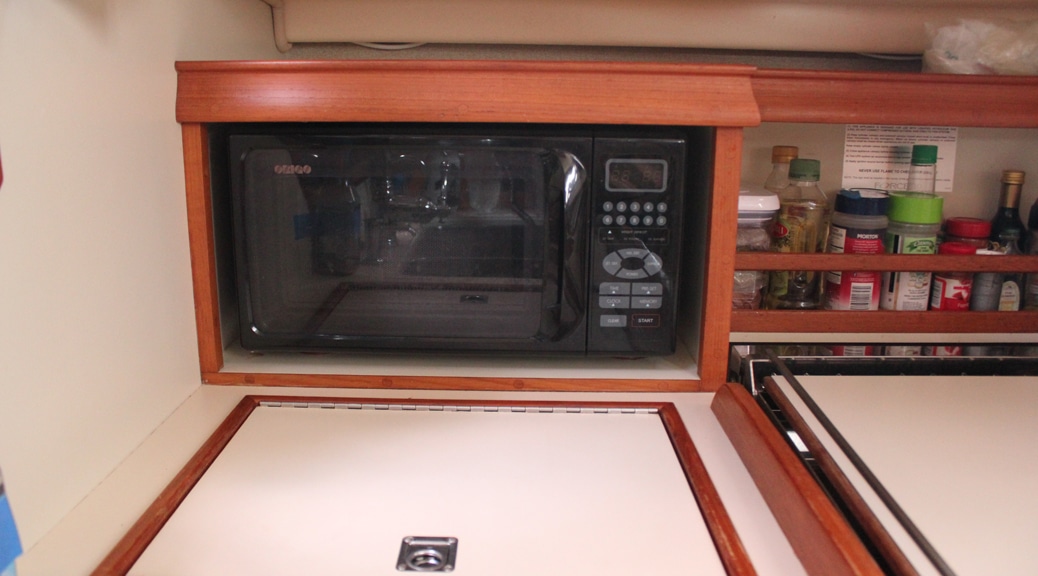
The original microwave oven that came as standard equipment with the boat. Notice how it fits just perfectly into the space designed for it.

We thought this would be a simple matter of buying a new ~$70 microwave and plugging it in. Nope. Not even close. As it turns out, this brand of microwave is no longer made and the dimensions of this oven were apparently unique in the world. In particular, the height dimension of 9.3 inches cannot be found on any small microwaves on the market today.  When I looked on the Island Packet user forums, a number of people with older model boats have exactly the same problem. Some just choose to do without a microwave once it fails, while others  go to great lengths to have their broken oven repaired. No one it seemed, had tried to enlarge the space where the oven fits.

We thought of trying to get the oven repaired, but there were a couple other things we didn’t like about it that wouldn’t be addressed with a successful repair. First, the inside volume of the oven is very small and we wanted one slightly larger. Second, at only 550 watts, the oven is underpowered – so much so that it can’t even pop popcorn. So we decided to enlarge the available space (increasing the height was all that was actually necessary) to give ourselves a lot more choices.
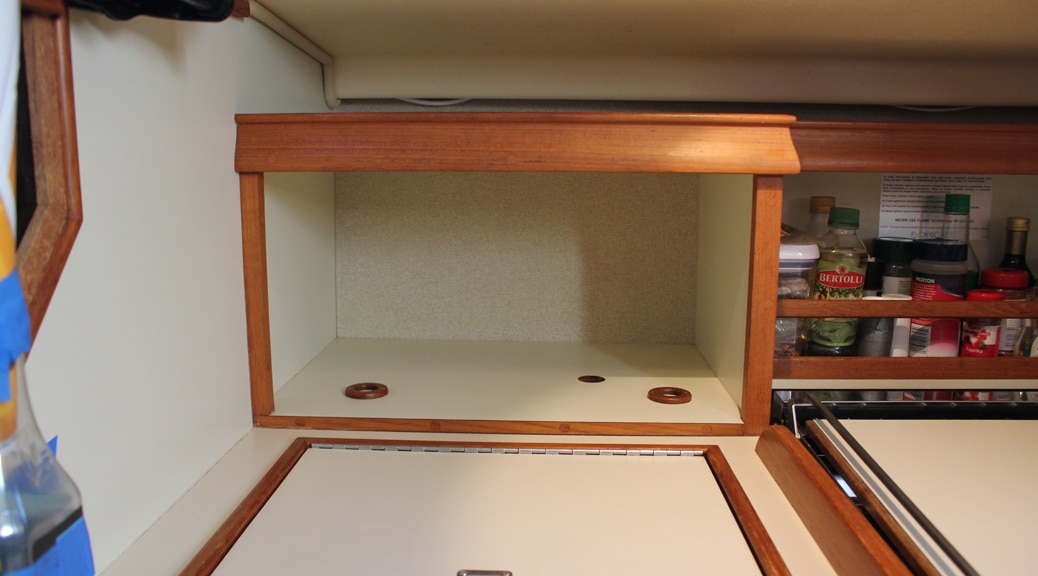
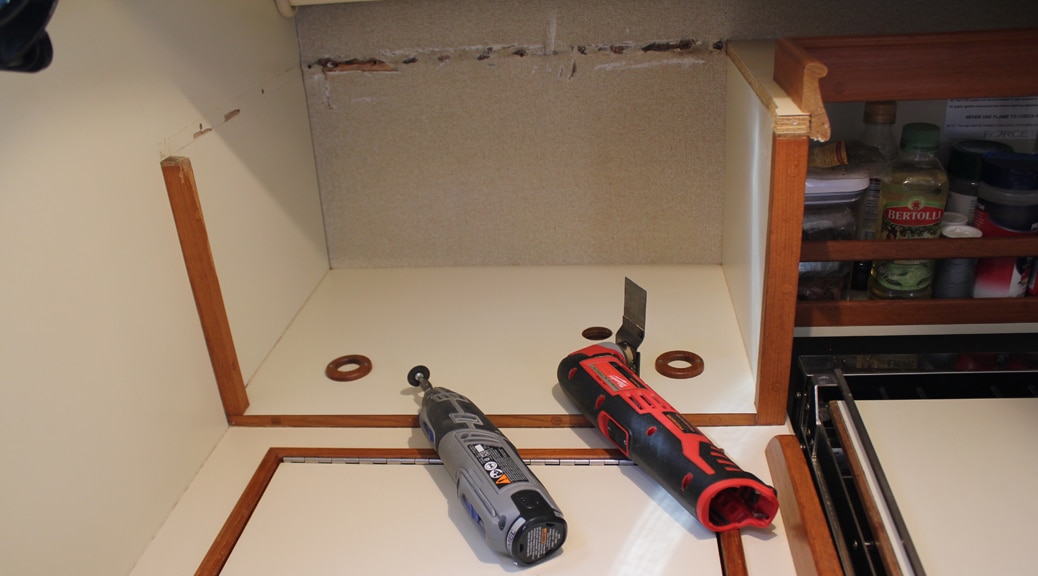
The old oven removed from its cabinet. The two little rings on the “floor” are where the front feet of the oven sat inside to prevent it from sliding out. The hole towards the right is for the power cord.
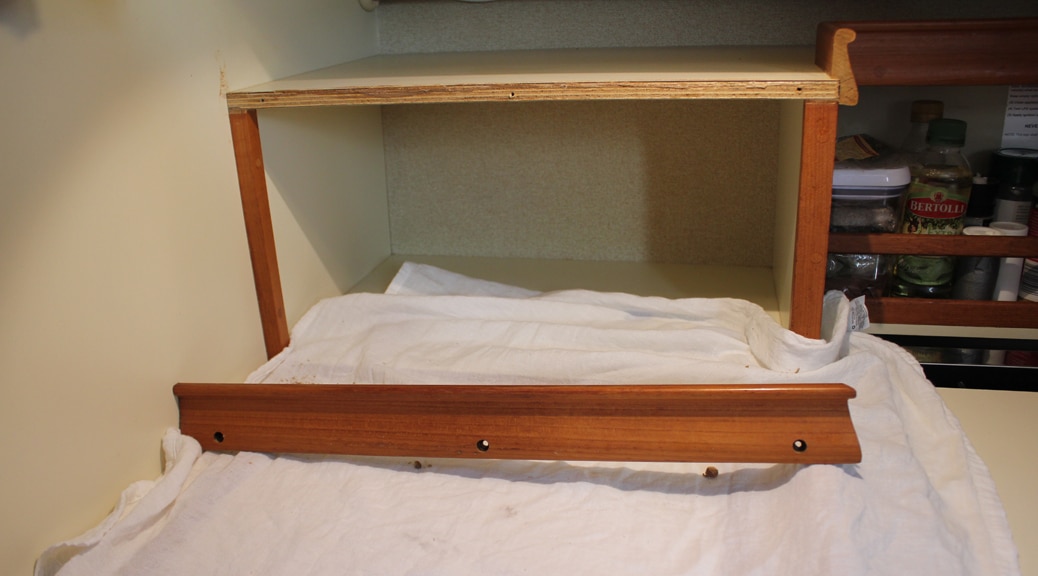
The front piece of molding came off easily by drilling out the three bungs and removing the screws beneath.
Next was the messy part – removing the “roof” of the cabinet. The only way to do this was to cut it out as it was screwed in from the back on two sides and was a solid continuous piece on the third side. A Dremel tool and an Oscillating cutter did the job (although they made unavoidable marks on the surrounding surfaces). This expanded space could now accommodate dozens of different brands of microwaves currently on the market.
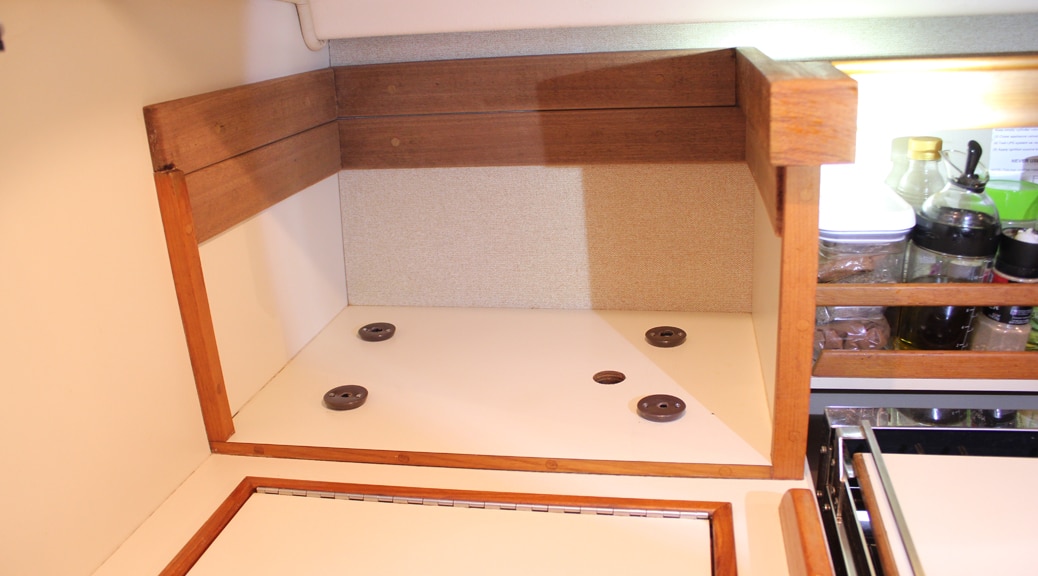
I found some scrap teak at the local sailors exchange to cover the marks made by the cutters. I also fashioned some captive “rings” to hold the feet of the new oven in place. They are the usual brown rubber floor protectors for the bottom of furniture feet. I just turned them upside down and drilled out a properly- sized hole for the new microwave feet to drop into. I then screwed down each rubber ring to the floor around its outside perimeter.
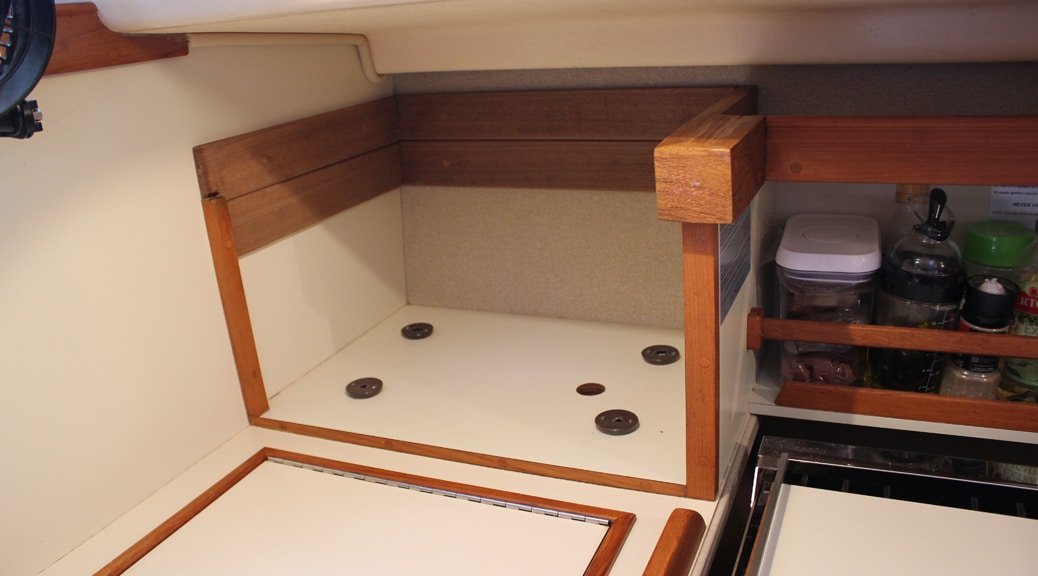
This angle shows how the new teak molding around the top edge interfaces with the original more fancy piece of molding.
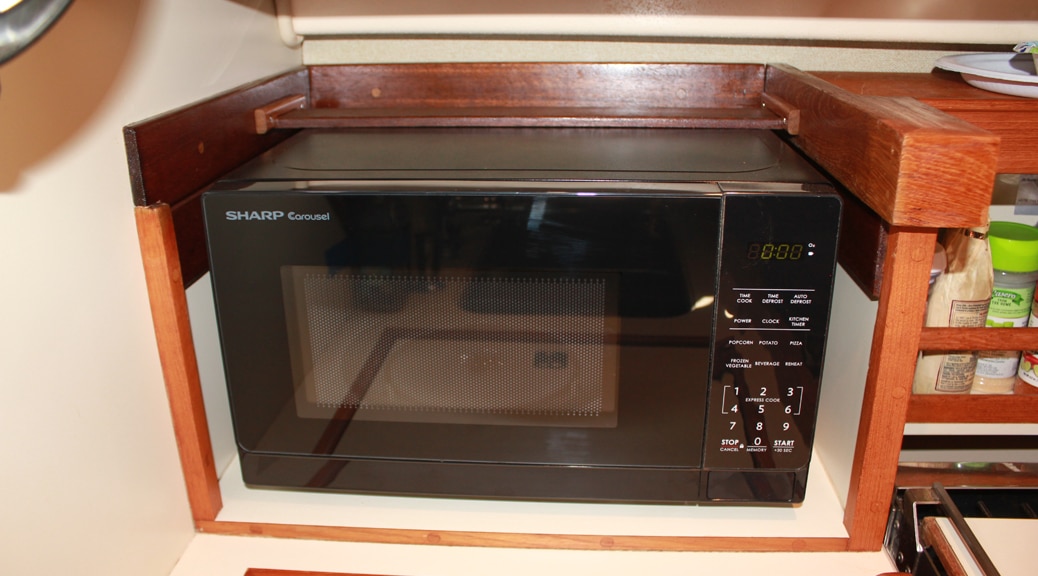
All the new teak has been varnished and the new microwave is in place. This model was on sale at Lowe’s for $59. It is bigger inside and has 700W of microwave power (150W more than the original oven). I installed a teak “strap” across the rear portion of the top of the oven to keep it from jumping out of its foot holders in rough seas and from tilting out when we are heeling to port. This piece can be raised if necessary for an even taller microwave if there is a future need. While in port or at anchor, we store plastic containers on the top of the oven, and in effect have not lost any storage space with this improvement.

5 Responses

  1. Thanks for the cudos. The real atta boys goes to Tom who did a first class job on a particularly low salary.

    1. I can’t compete with the impeccable quality of Captain Mort’s work. Unfortunately this was not a project Captain Mort could do in his shop, or it would have been right up his alley.

    1. Thank you Don. This was one of those “high value” projects that cost very little money to do, but had a big functional benefit.

Leave a Reply

Your email address will not be published. Required fields are marked *