Projects and Upgrades

Varnish

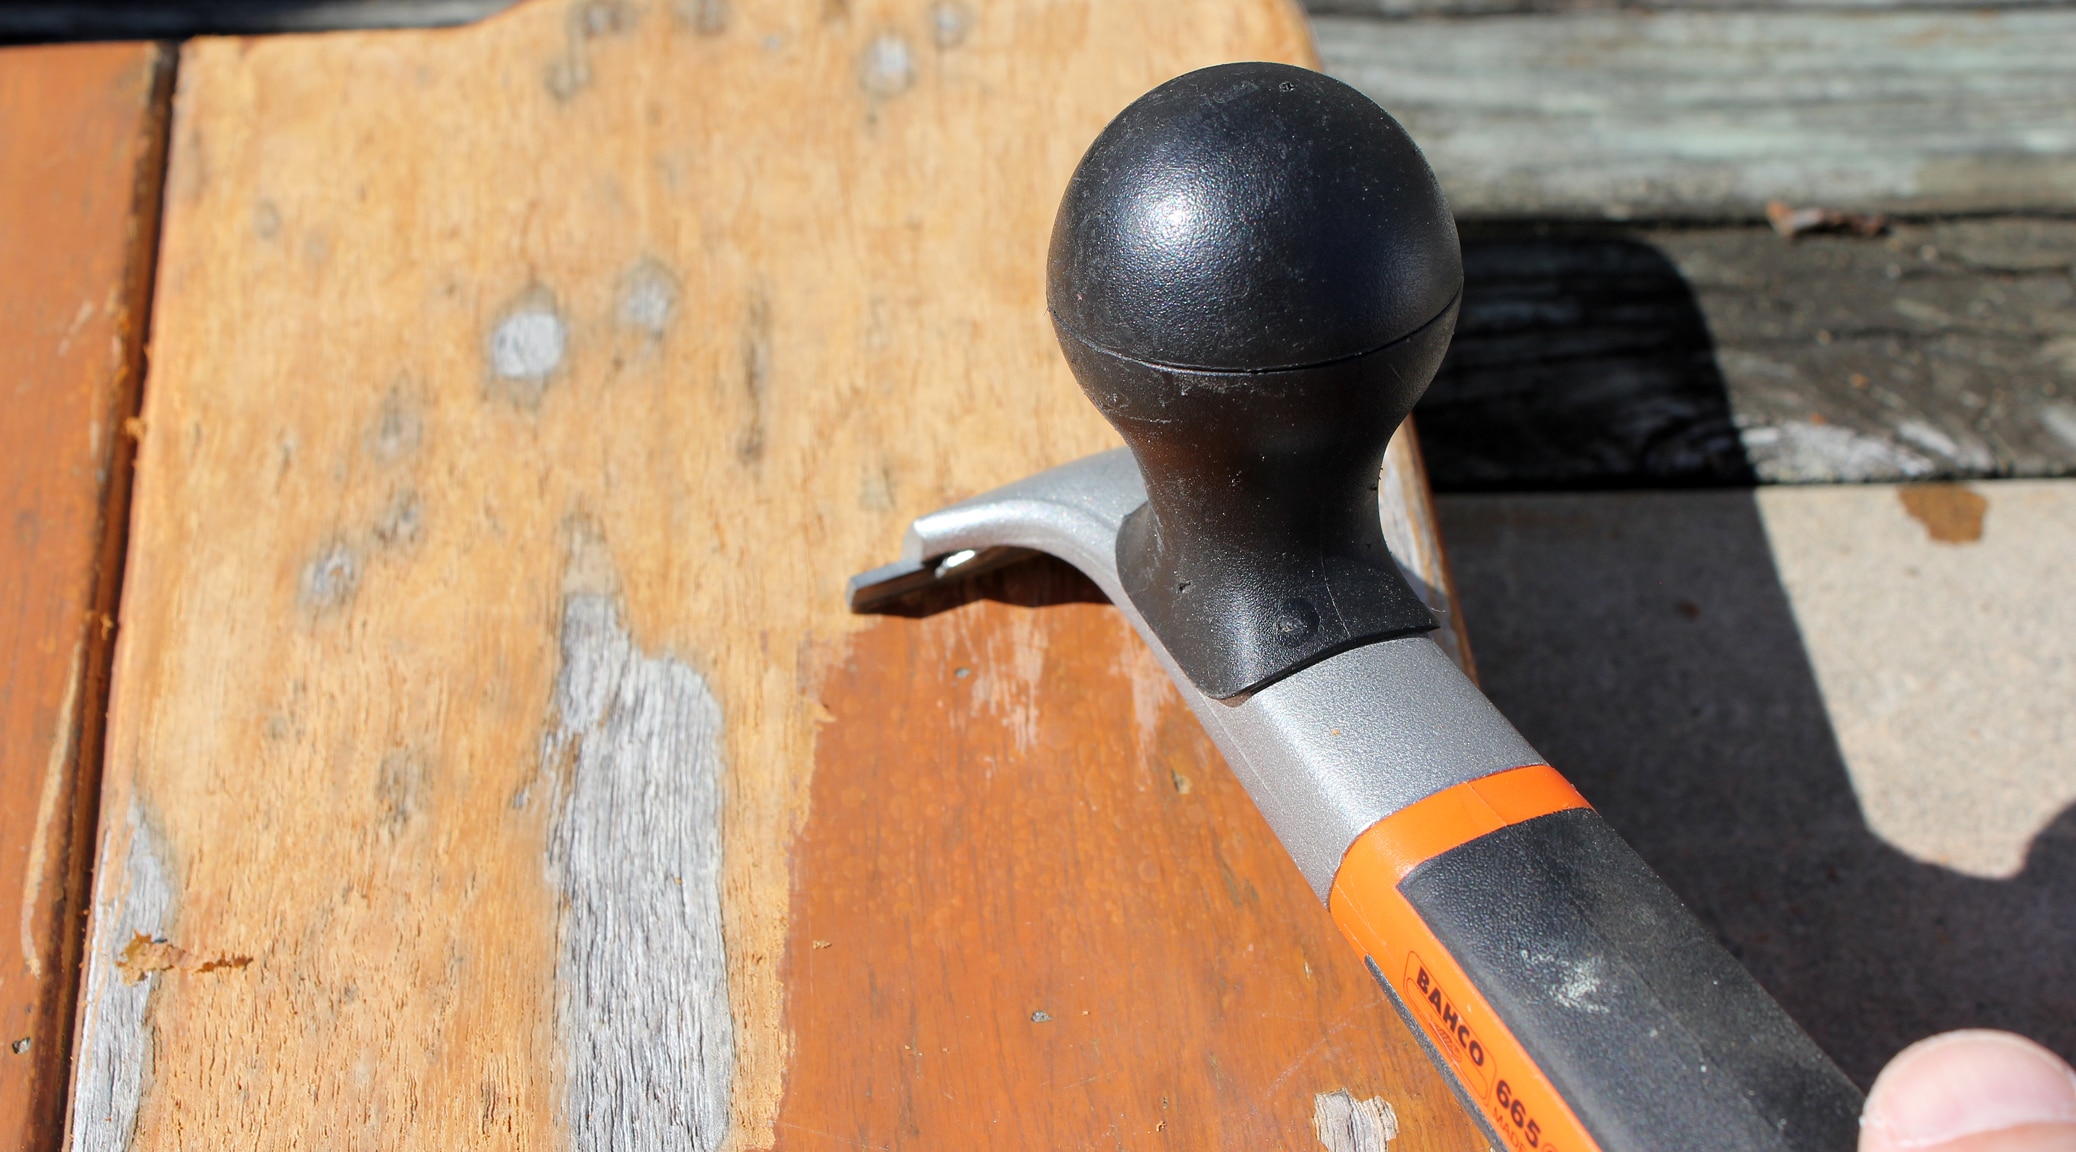
After trying every other possible teak treatment, including no treatment at all, we decided last year to take the plunge with varnish. We have a lot of external teak on our boat and knew that initially this was going to be a big job. Thankfully, the way the teak is laid out on the boat lends itself to doing this project in small sections so as not to be overwhelmed. We started with the teak on the cockpit coaming (the raised boarder around the cockpit). The value of varnish, at least to us, is two-fold. First, it looks nicer by a long shot than any other exterior teak finish. Second, if the initial application is done right, the annual maintenance is minimal to protect the wood and keep it looking great.

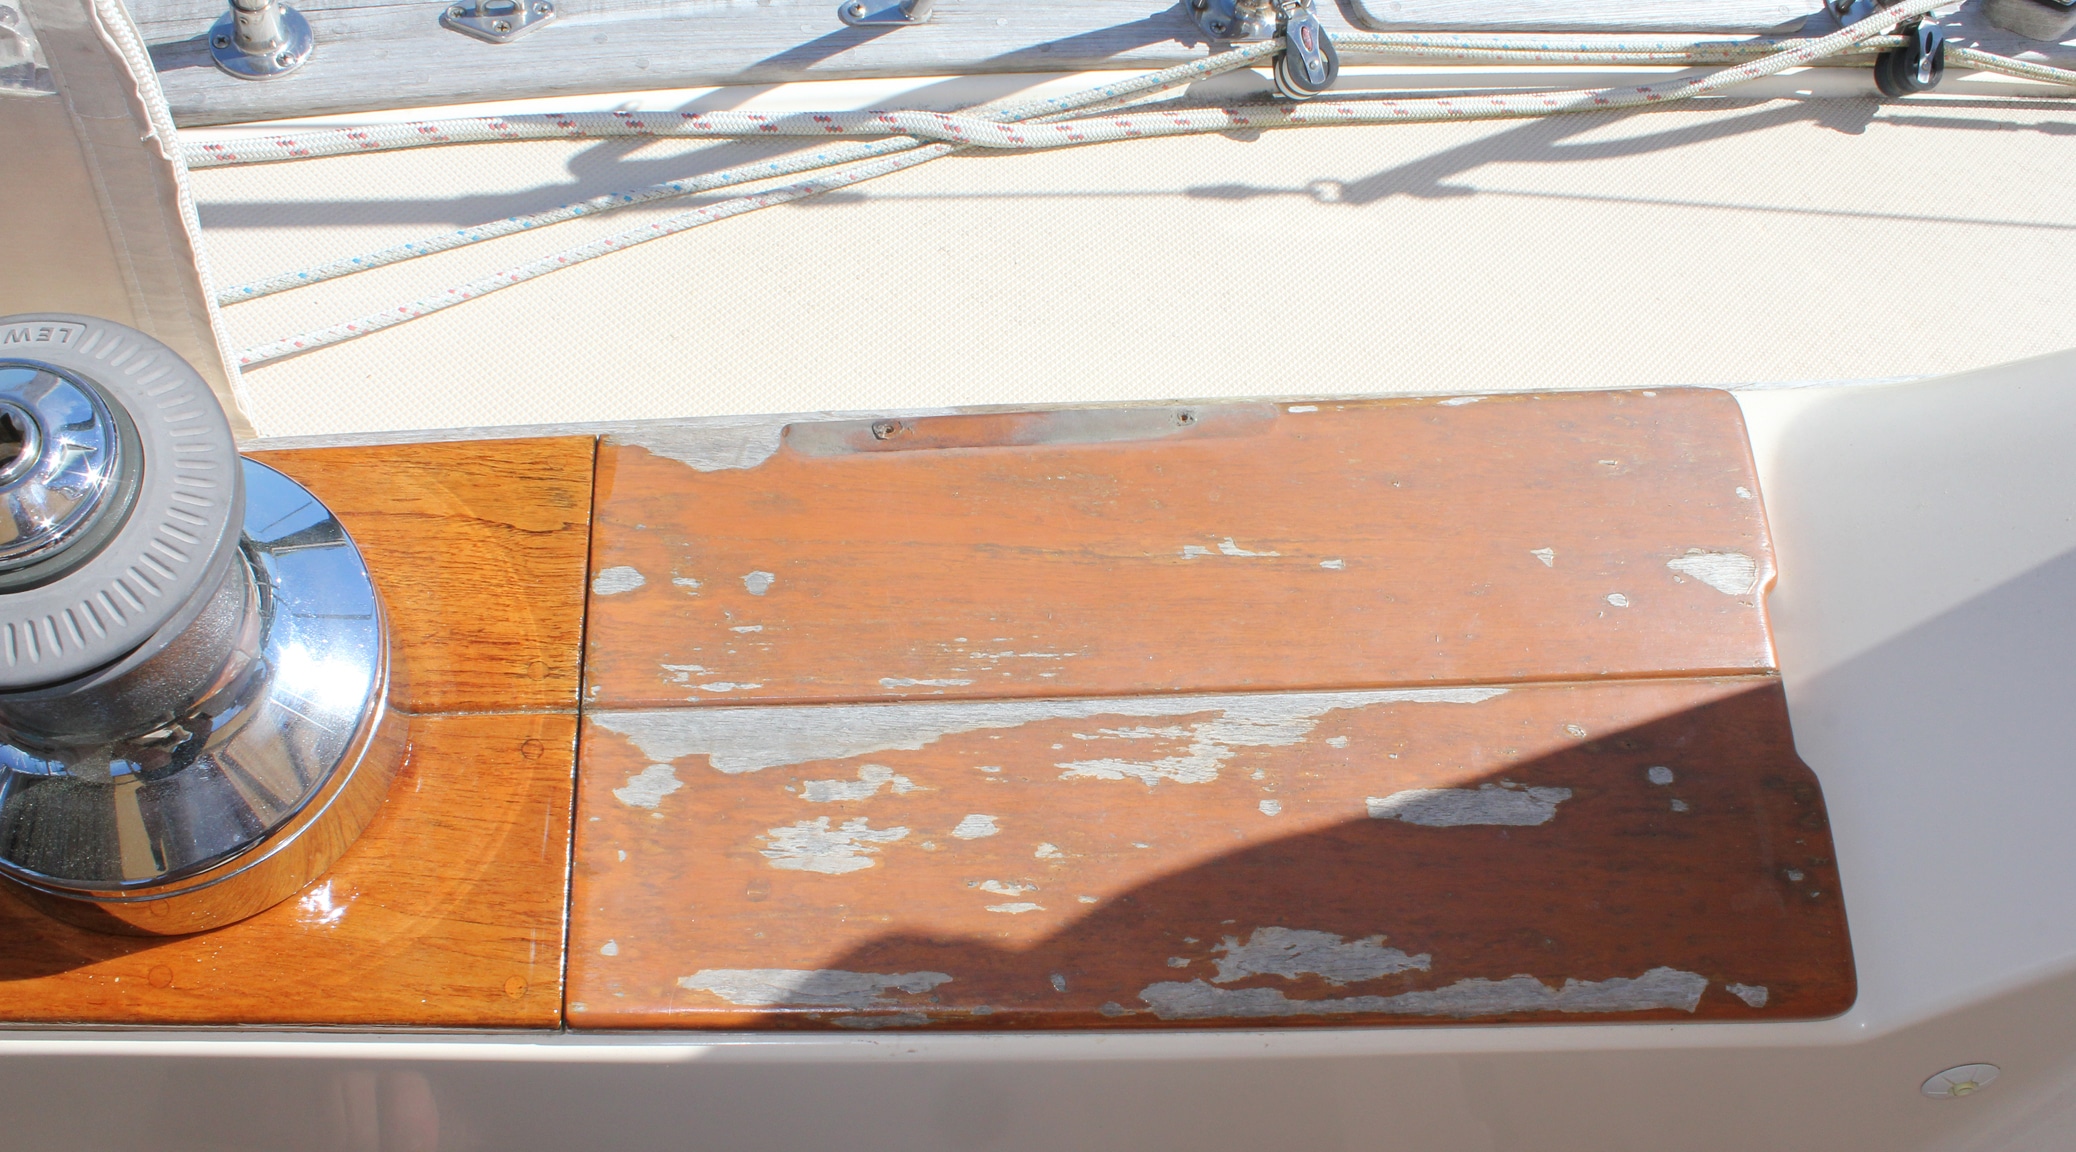
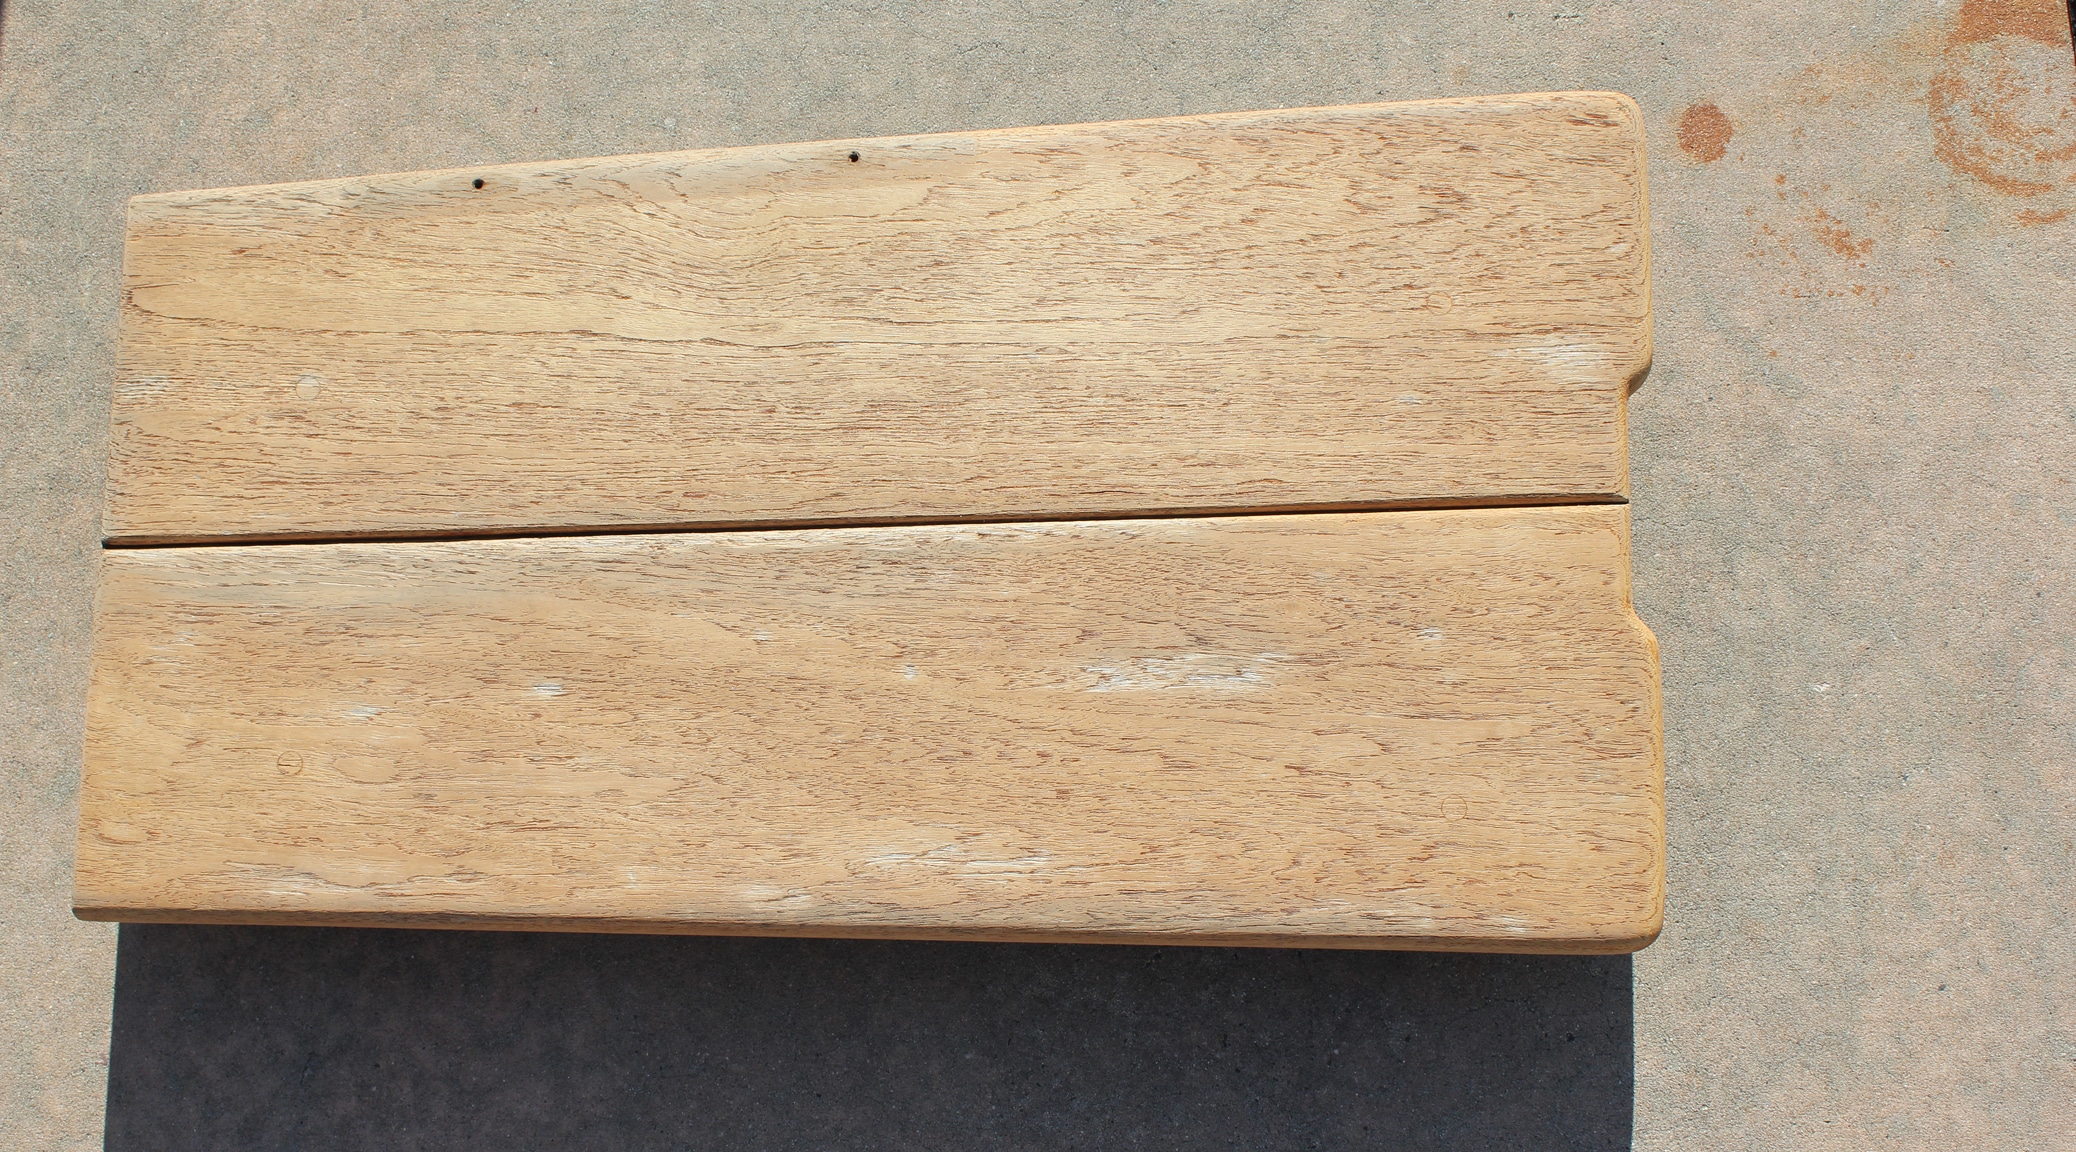
When we got the boat, it had a deteriorating coat of Cetol on most of the exterior teak surfaces. Here’s a section of the coaming as it looked before we did anything.

Varnish1
Some of the Cetol on this section had naturally peeled away exposing areas of bare teak that turned dark grey. The grain in those areas became raised and “ridged” over time.
Varnish2
The first step in the surface prep was to get rid of all the old coating. The best and least messy way to do this was with a heat gun and scraper. Heat is applied until little bubbles in the old coating are visible, indicating it has detached from the surface.
Varnish3
It is then relatively simple to scrape off the old coating. It comes off in little strips that are easily contained and no dust is created in the process. You do have to vacuum up the little dried “curls” of Cetol, though.
Varnish4
All the old coating is now gone. However, the surface is not uniform in either color or smoothness because of the areas that were differently exposed to sun and weather.
Varnish5
The next step was to apply a teak “cleaner” to get rid of any stains and dirt. The cleaner also bleaches the wood a bit and produces a more uniform color across the entire piece.
Varnish6
Next was to wet-sand the entire piece by hand with tung oil. This accomplished two things – tiny valleys in the wood grain are filled in by a paste created from the tung oil and sanding dust. Also, the tung oil acts as a “sealer” prior to the first varnish coat and provides an even greater color uniformity at the same time.
Varnish7
Here is a close-up of the coaming after all of the above prep steps and just before the first coat of varnish is applied.

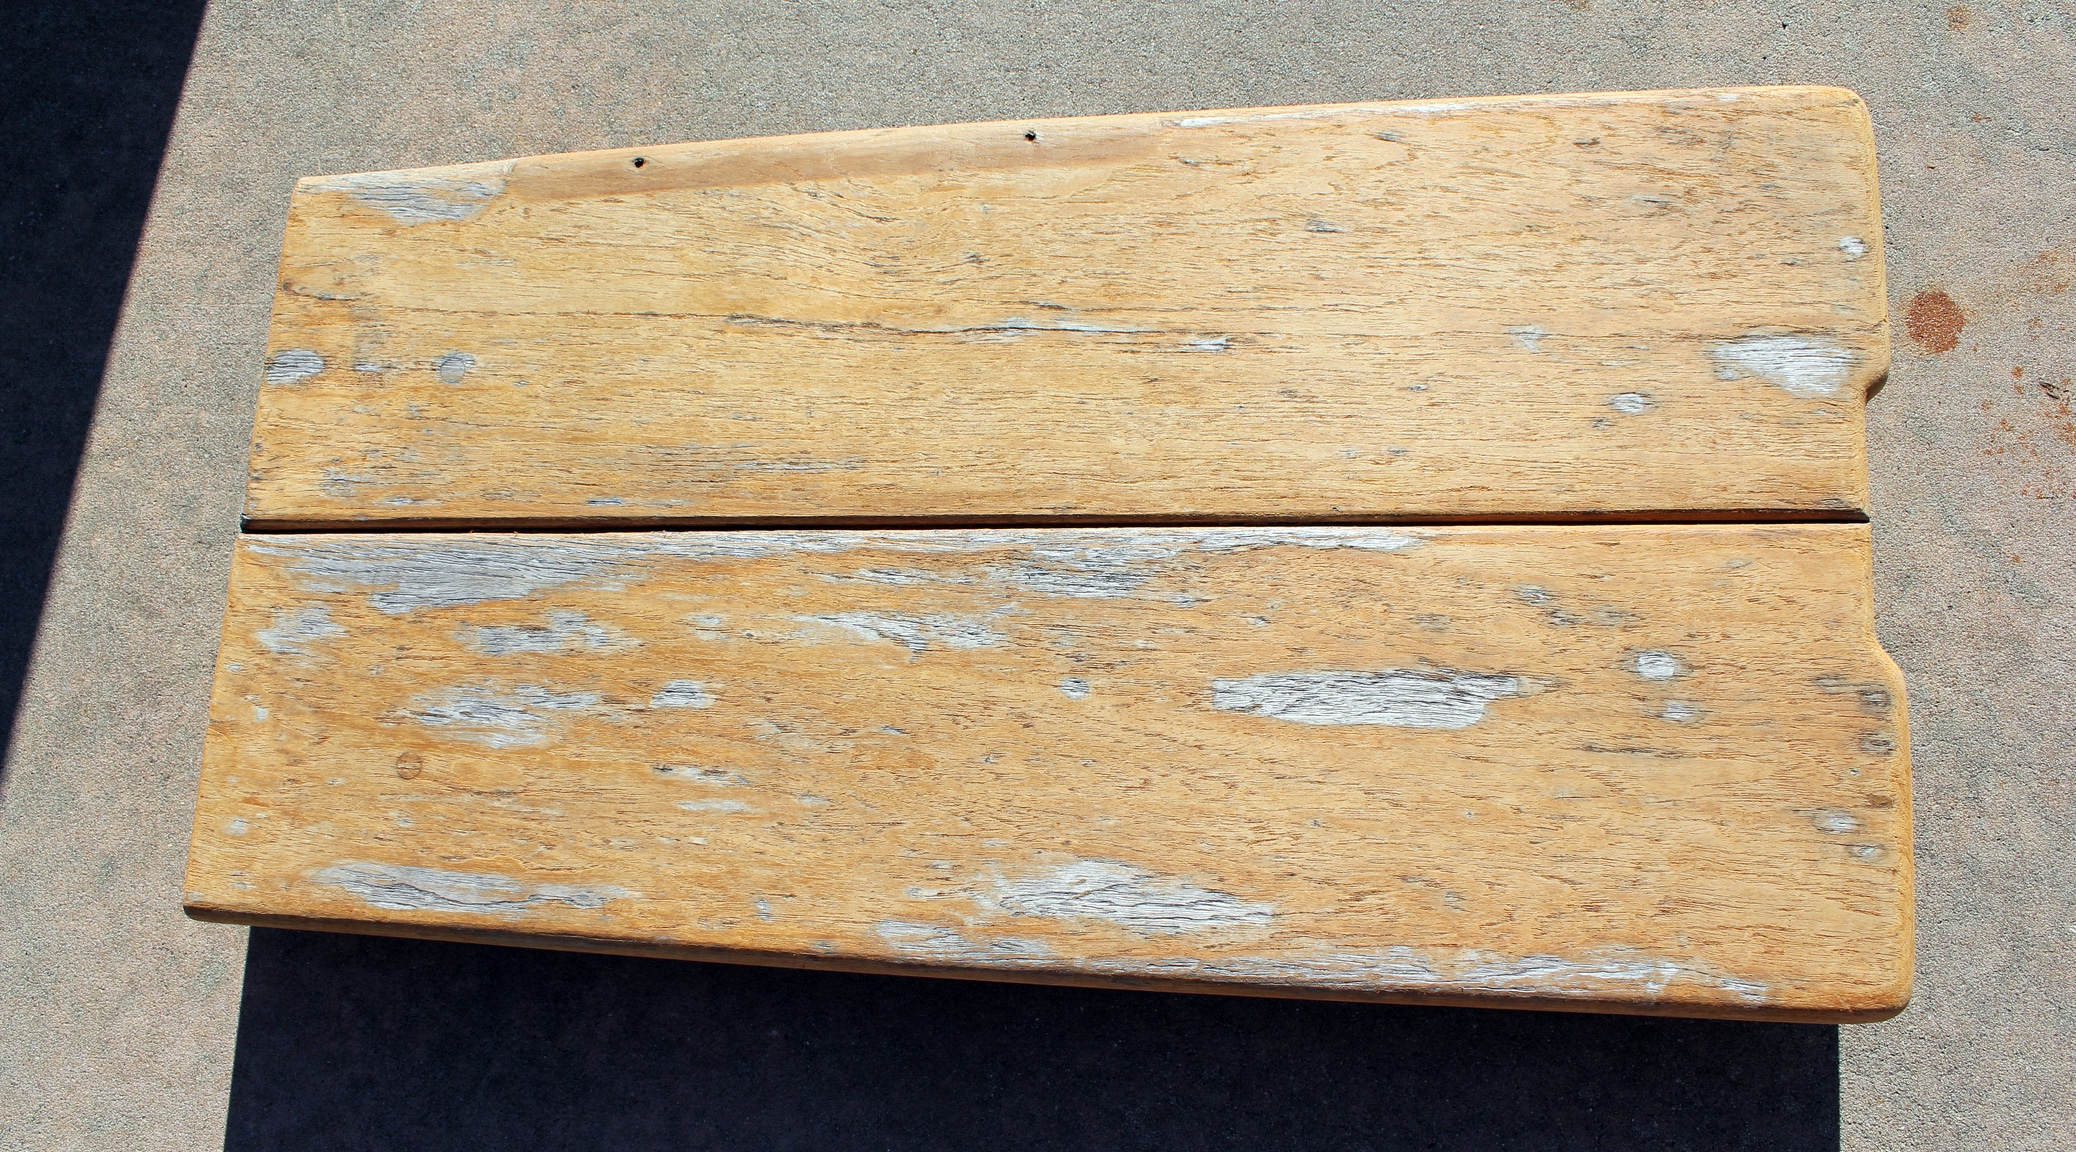
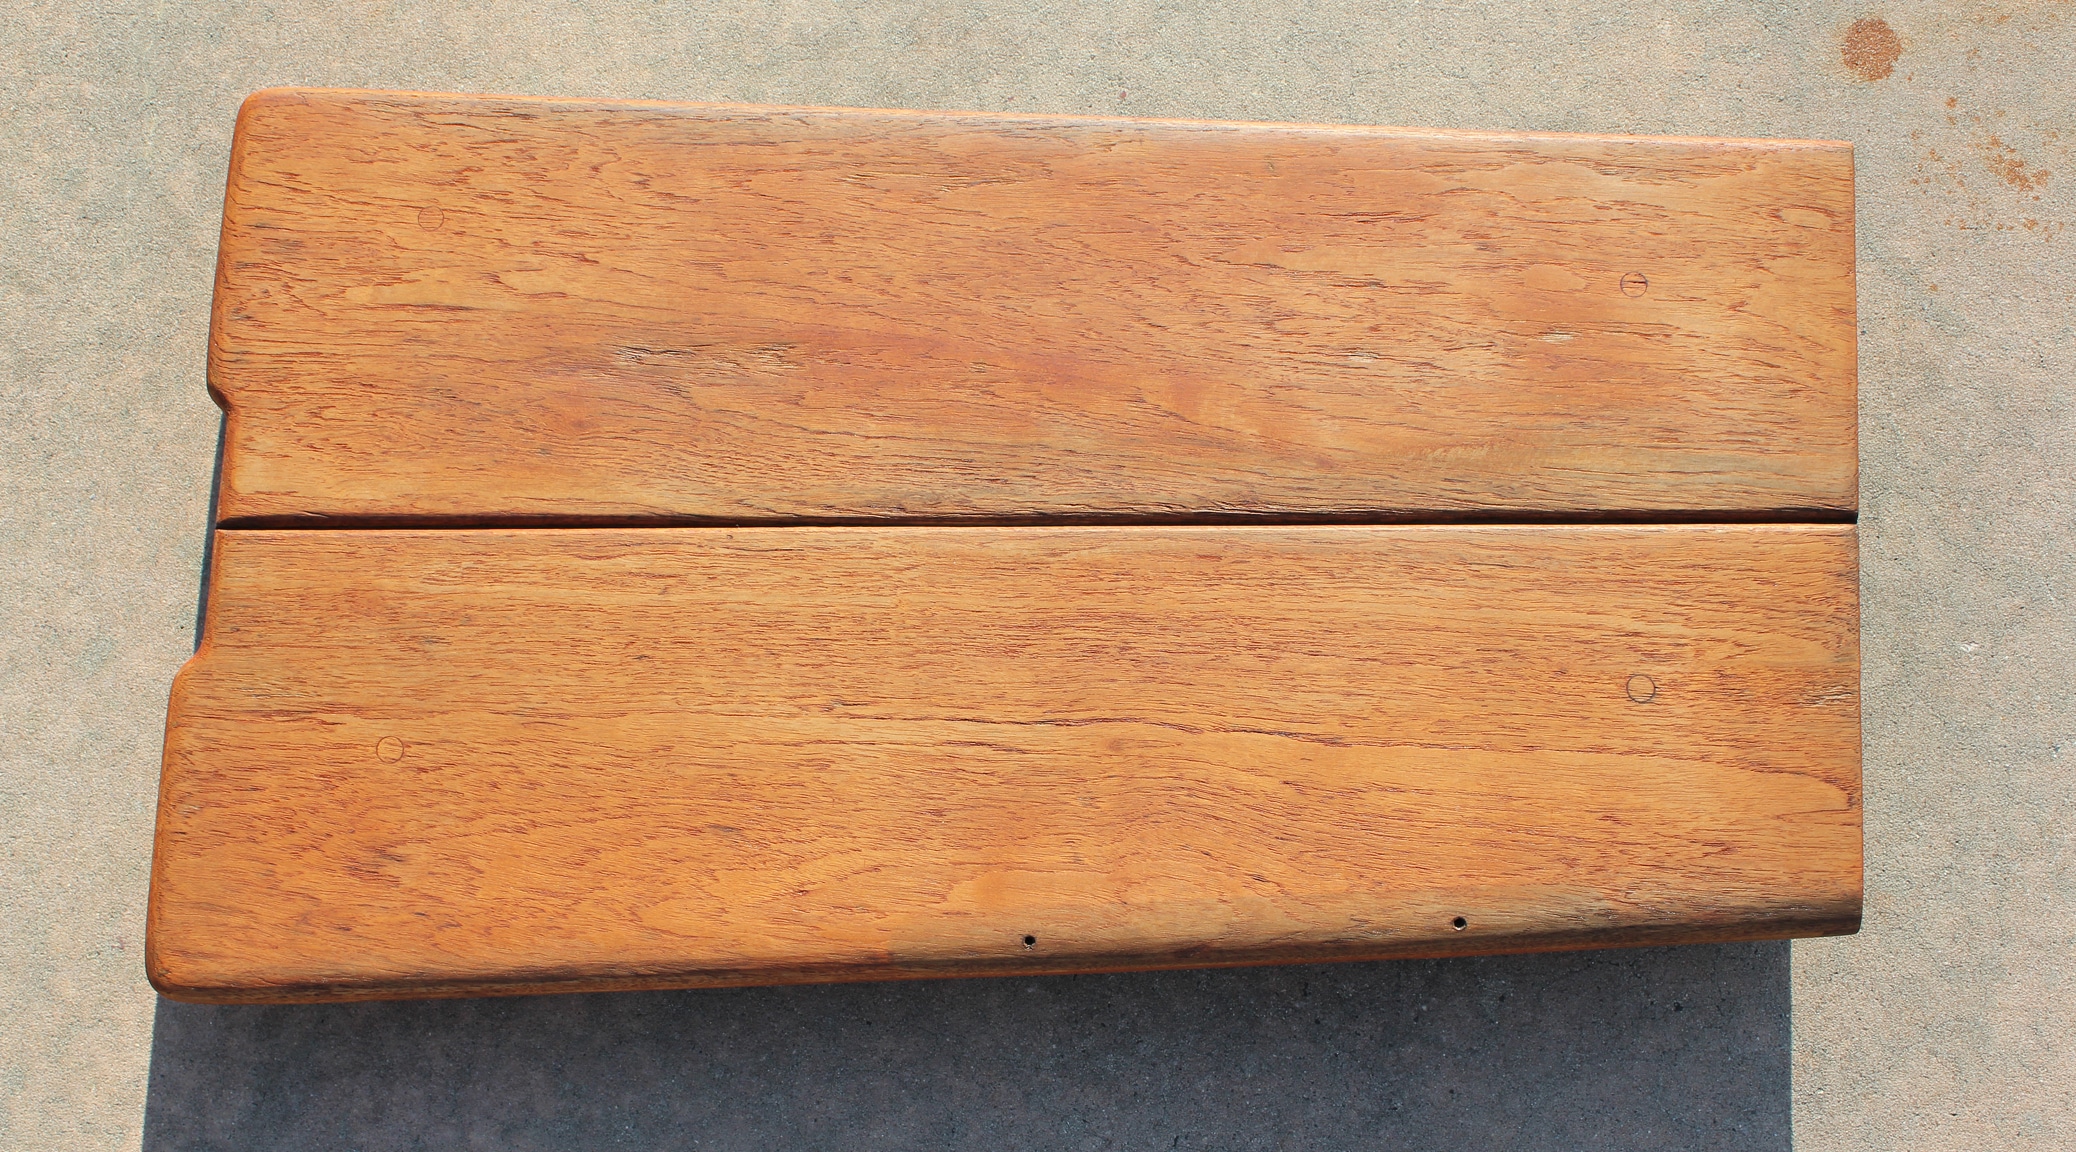
At this point the varnish was applied. We followed a varnish application schedule outlined in Rebecca Whitman’s superb book “Brightwork”. Basically, it consisted of eight coats of varnish with sanding in between each coat. Only foam brushes were used. This part of the project was the least amount of labor. It only took about ten minutes to sand and apply a new coat of varnish to a section of teak this size. However, this part of the project also consumed the most amount of total time, mainly because of having to wait 24 hours between each of the eight coats. In addition, the weather conditions had to be just right, so a few days were added at various points waiting for weather.

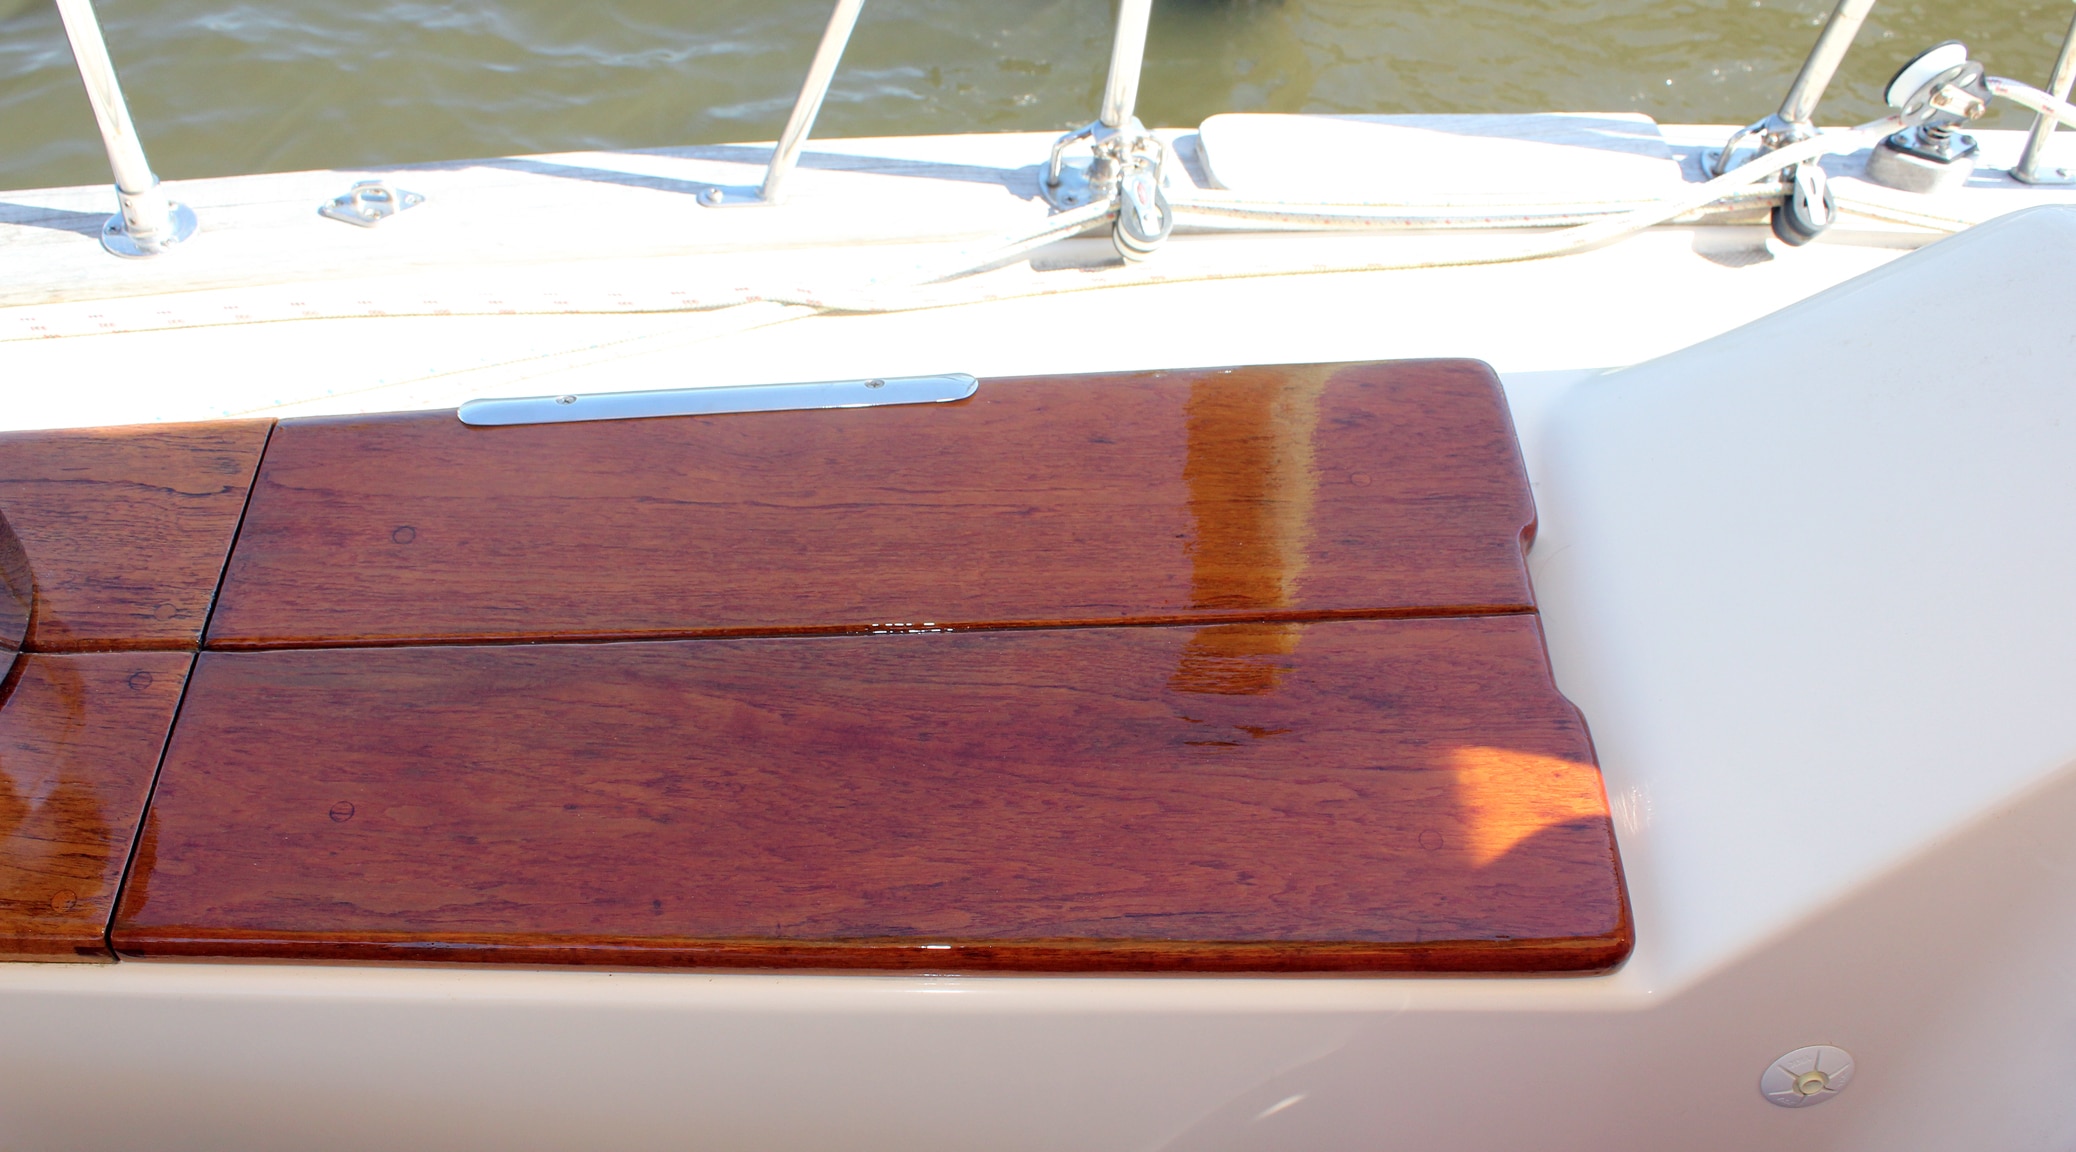
The final result was a gorgeous mirror-like finish which will only require a very light sanding and a single refresher coat next year.

Varnish-Featured
You can even see the reflection of the aft piling of our slip on the right side of the finished surface.

Leave a Reply

Your email address will not be published. Required fields are marked *