Projects and Upgrades

Rigging and Bottom work – Part 3

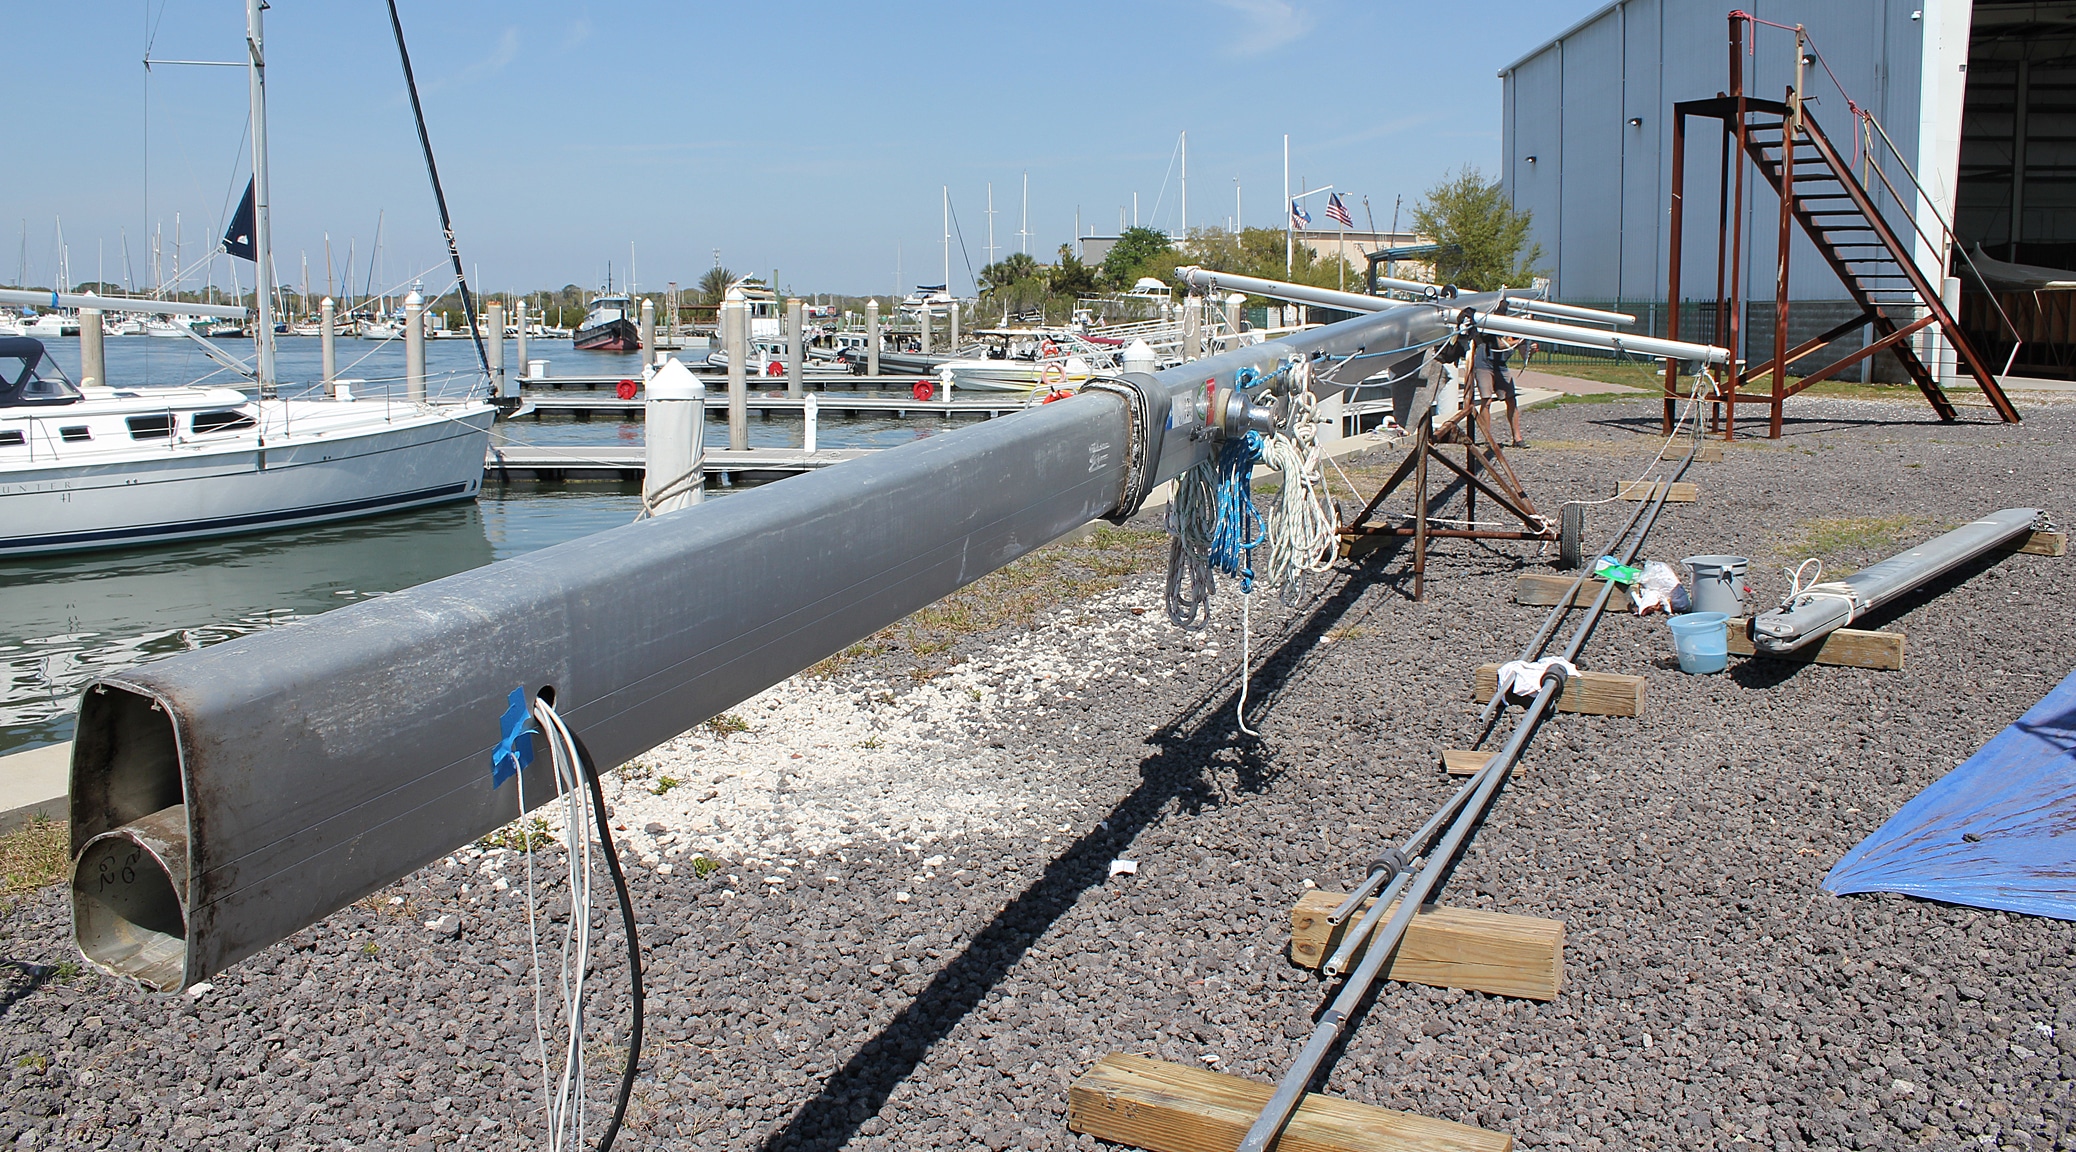
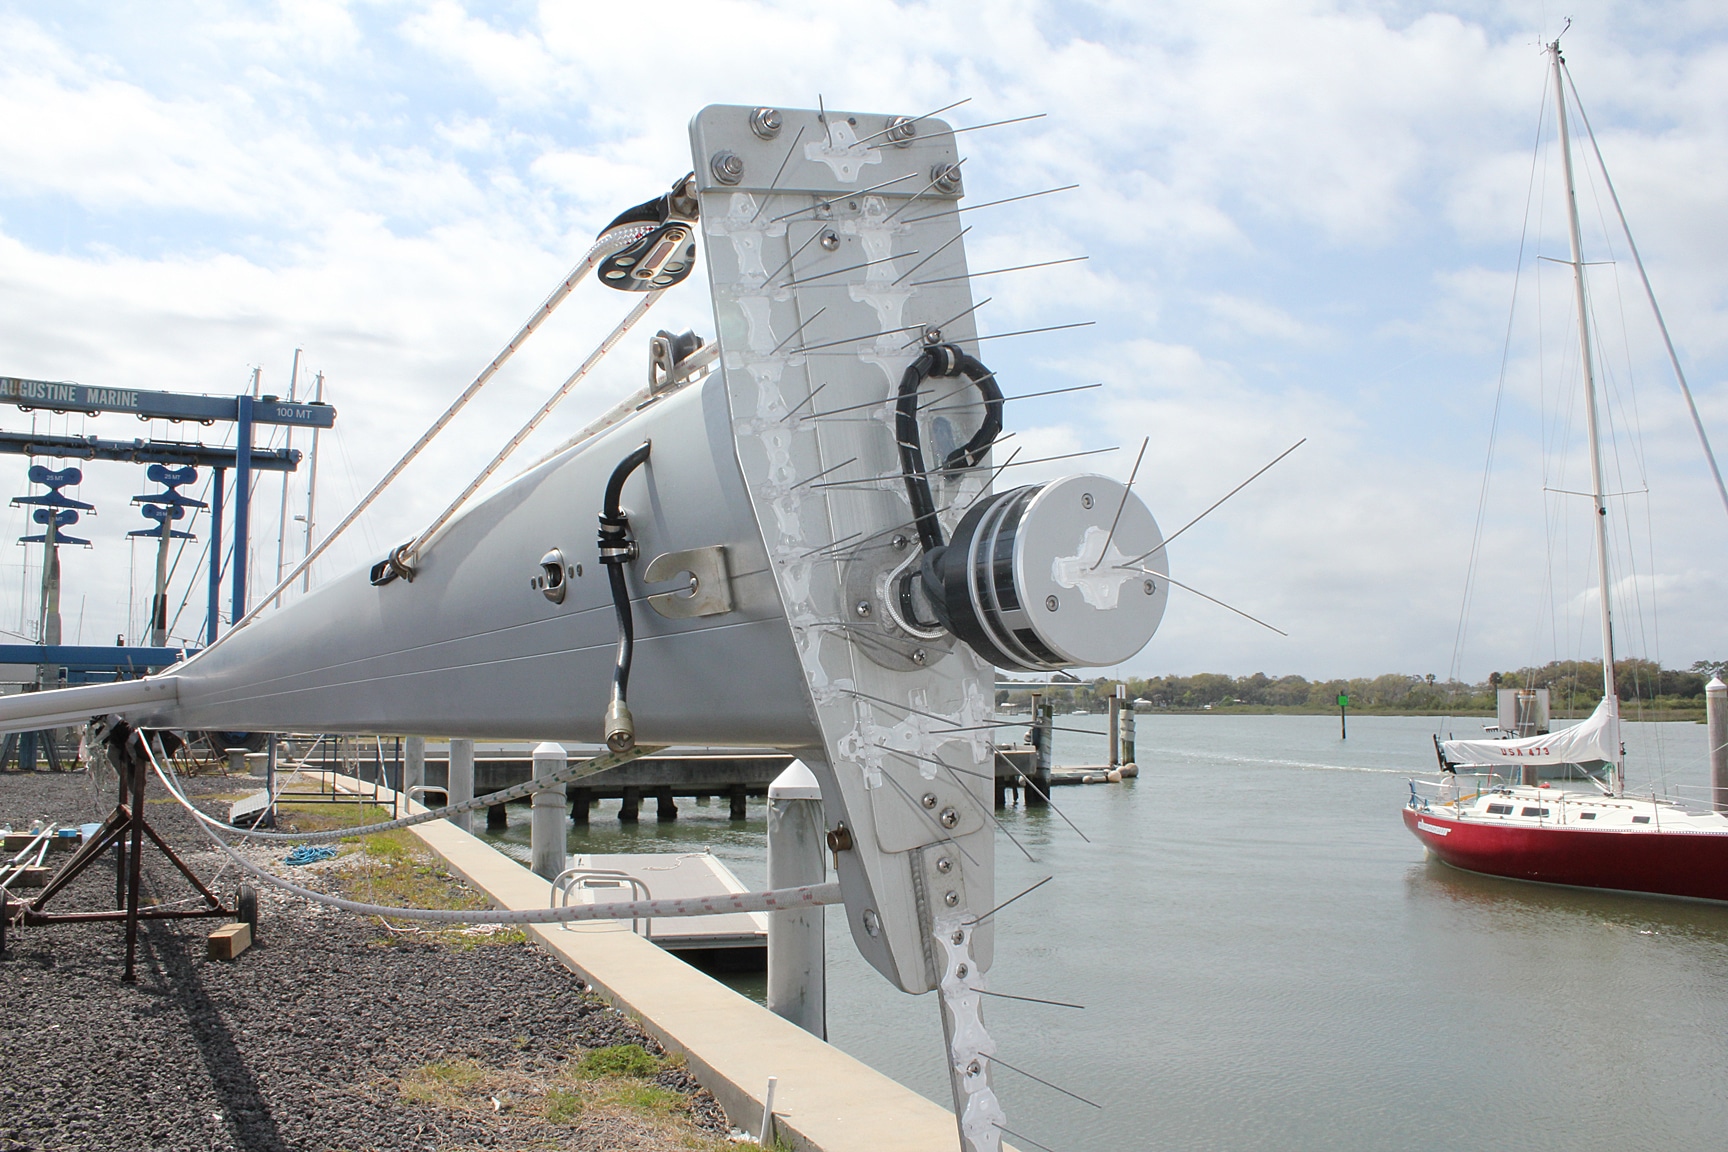
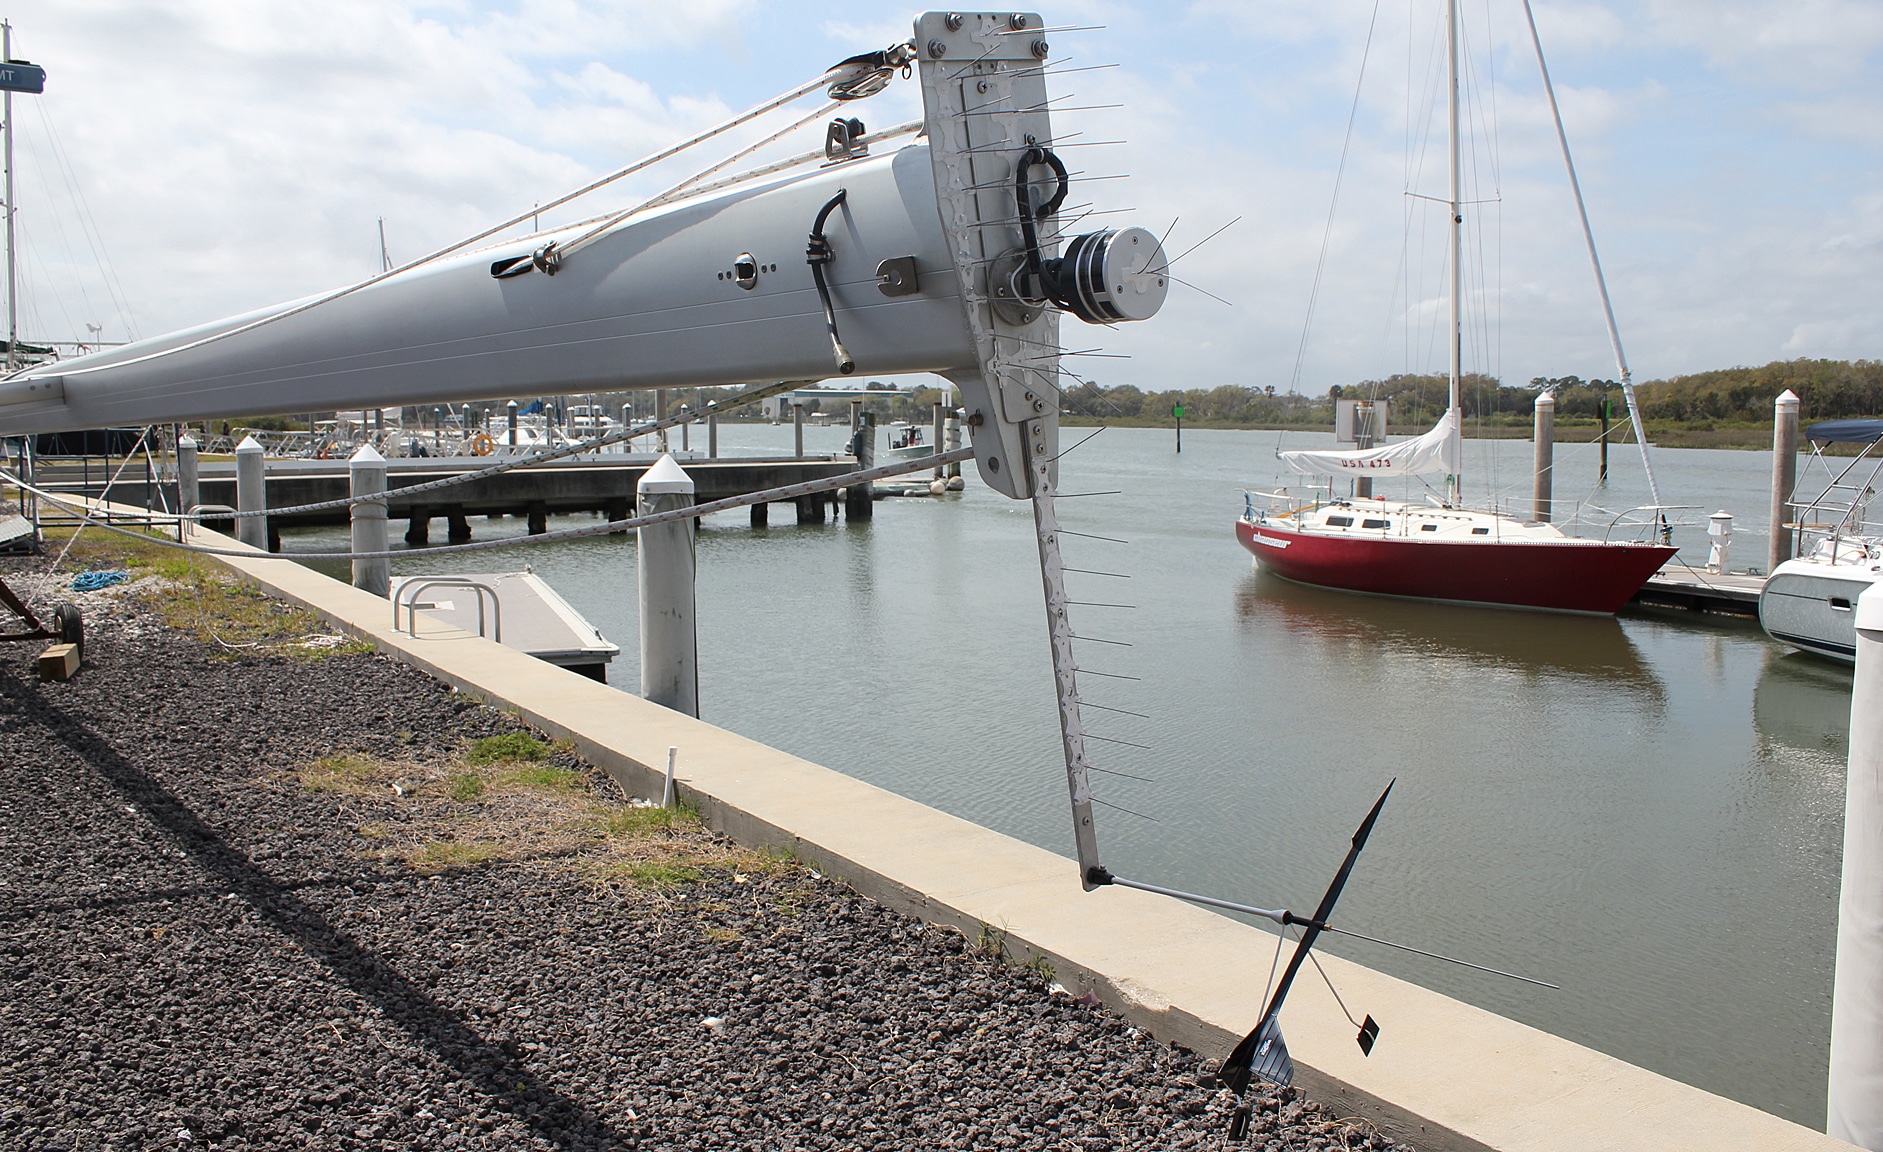
In this article we focus on all the mast work that we were able to do much more easily while it was down on the ground. The featured image above shows the top of the mast once we got our first look at it on the ground. We found a lot of items that needed attention as you can see annotated on the picture.

Part3-1
The mast is much bigger looking on the ground than how it appears when standing on the boat. For some perspective, that’s me all the way up at the other end standing underneath.
Part3-2
The very top of the mast. First, we thoroughly cleaned all the bird droppings and shined it up. We then decided to run a new electric wire to power the anchor light The old wire still worked, but it was chafed badly. Also, we weren’t too sure how much life was left in the crimp connections to the light since they were bearing all the weight of the 65′ wire. We also replaced the old red wire that was acting as a messenger line with a white nylon line seen tied around the base of the anchor light. We replaced all three broken strain relief clips (one for the anchor light wire and two for the VHF cable (the new VHF antenna is not installed yet).
Part3-3
Next we added what we hope will be a good bird deterrent. All those spikes come pre-mounted to a plastic strip you just glue onto any flat surface. The problem we’re trying to solve here is all the fish guts we find on our deck as the Ospreys feast on their catch at the top of the mast. In this picture you can also see that we re-ran the jib halyard properly under its roller and also replaced the ragged spinnaker halyard and its turning block.
Part3-4
In this farther out view you can see our new wind vane (windex) at the bottom of the picture. Unlike our old one, which had lost part of its tail in hurricane Irma, this new one has a big bird spike mounted on top of it. In both the above pictures you can see how clean and shiny the mast looks. That’s because of Paula’s hard work washing its entire length and then applying a special aluminum wax to the whole thing. That took three days.
Part3-5
The last bit of work at the top of the mast was to run two new messenger lines. All our halyards run inside the mast. If one of them breaks, it’s extraordinarily difficult to run a new one by trying to fish it down the mast from 60′ up in a bosun’s chair. To make it easier, those two thin white lines are pre-run all the way down the inside of the mast and come out at the bottom at the same spots as the main and jib halyards respectively. If one of these lines breaks, one of us goes up to the top with the new halyard in tow and ties it to its messenger line. Back on deck, you just pull the messenger line and it “tows” the new line down with it. (Have to remember to pull down a new messenger line at the same time!)
Part3-6
This is the underside of the lower spreader where our flag halyard attaches. That’s a new stainless steel “eye strap” holding the the universal joint for the flag halyard.
Part3-7
Here’s what the old eye strap looked like after we took it off. It didn’t have too much metal left to it.
Part3-8
While we were working on the mast, the painters were continuing the bottom job. Here, the last coat of epoxy primer was applied to the area of our new waterline.
Part3-9
The soda blaster made short work of cleaning off all the underwater metal. Here you can see how clean they got the prop as well as our fridge and freezer heat exchangers.
Part3-10
The newly painted bottom with raised waterline. We no longer have that thin white strip of fiberglass below the red boot stripe, but we’re very glad for the higher waterline. We think it looks better this way anyway.

6 Responses

  1. Here is what popped into my brain when looking at these photos…. that thing has such a little “neck” to support the massive mast. How is that possible??

    1. Good question – the answer is the main reason we are having all this work done. When fully “rigged”, the mast is held up by a lot of support wires in very much the same way a radio tower is supported on land. On a sailboat, those supporting wires are called “stays” and fall into the category of rigging called “standing” rigging. The other category of rigging is called “running” rigging and includes all the ropes used to control the sails. A couple months ago we had all of these wires and ropes inspected by a professional “rigger”. During that inspection, he found cracks in several fittings on the standing rigging as well as some advancing corrosion on a few of the wires. As a result, we decided to have all the standing rigging replaced (all of it was 20 years old). The running rigging was all in good shape.

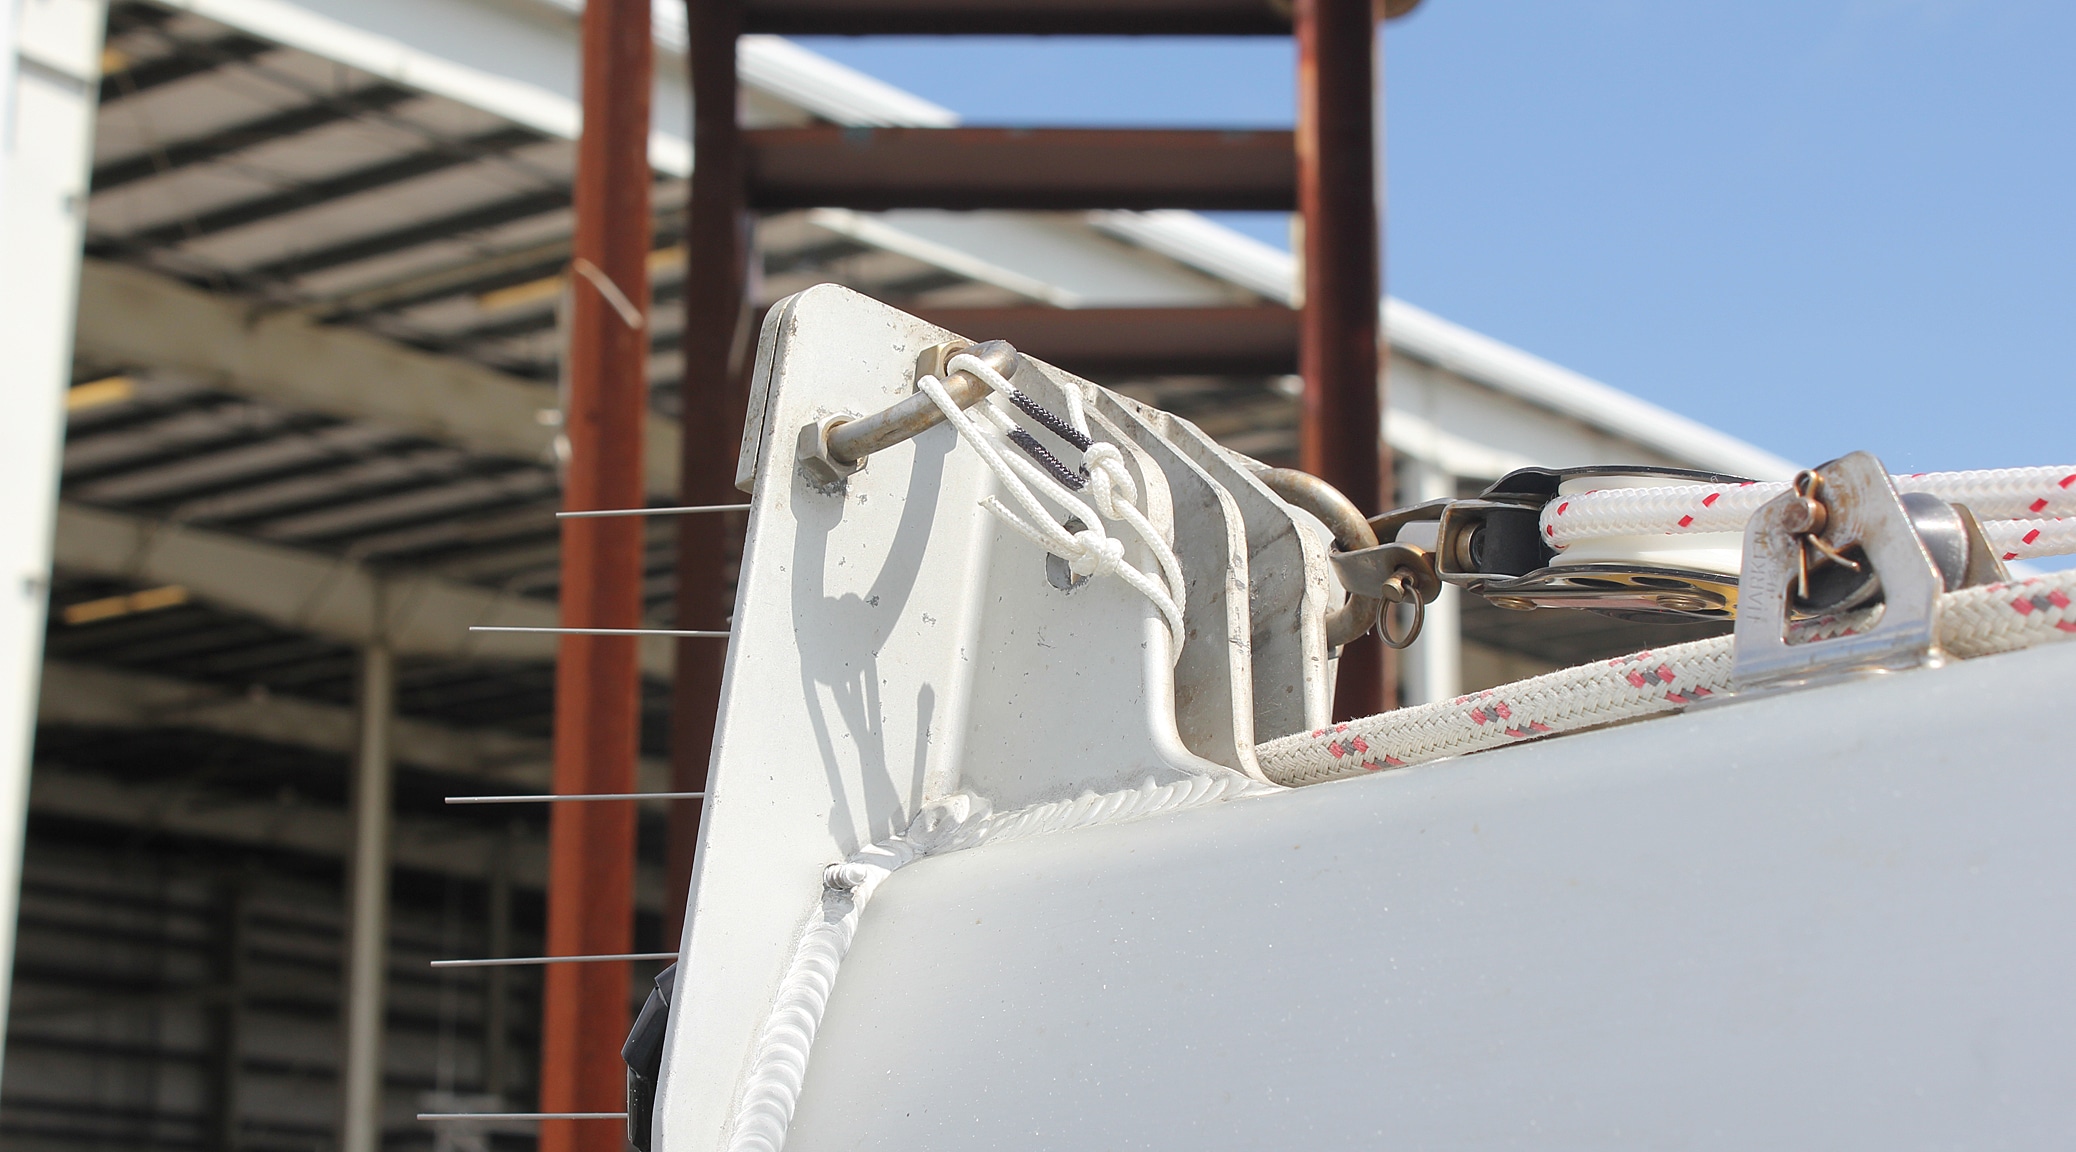
      The pictures in this most recent post do not show any of the standing rigging, only the running rigging. All the standing rigging was removed and shipped out to a company that will make an exact copy of it with new materials. That package of new wires/fittings should arrive early next week and take a couple days to install. Then the mast will be lifted back in place on the boat and all the new wires hanging from the mast will be attached to the boat.

    1. As I mentioned in my reply to K, the package of new standing rigging should arrive early next week. It when it arrives, it will take about three days to assemble and reinstall the mast. We will go back in the water immediately after that. The final tensioning of the new standing rigging must take place in the water since the boat takes on a slightly different shape when floating.

    1. It’s because of the “bounding” part of the bounding main that we’re having all this mast work done. Luckily, we’ve been blessed with great weather since the boat’s been out of the water allowing us to make great progress on our part of the work.

Leave a Reply

Your email address will not be published. Required fields are marked *