Projects and Upgrades

Rigging and Bottom Work – Part 4

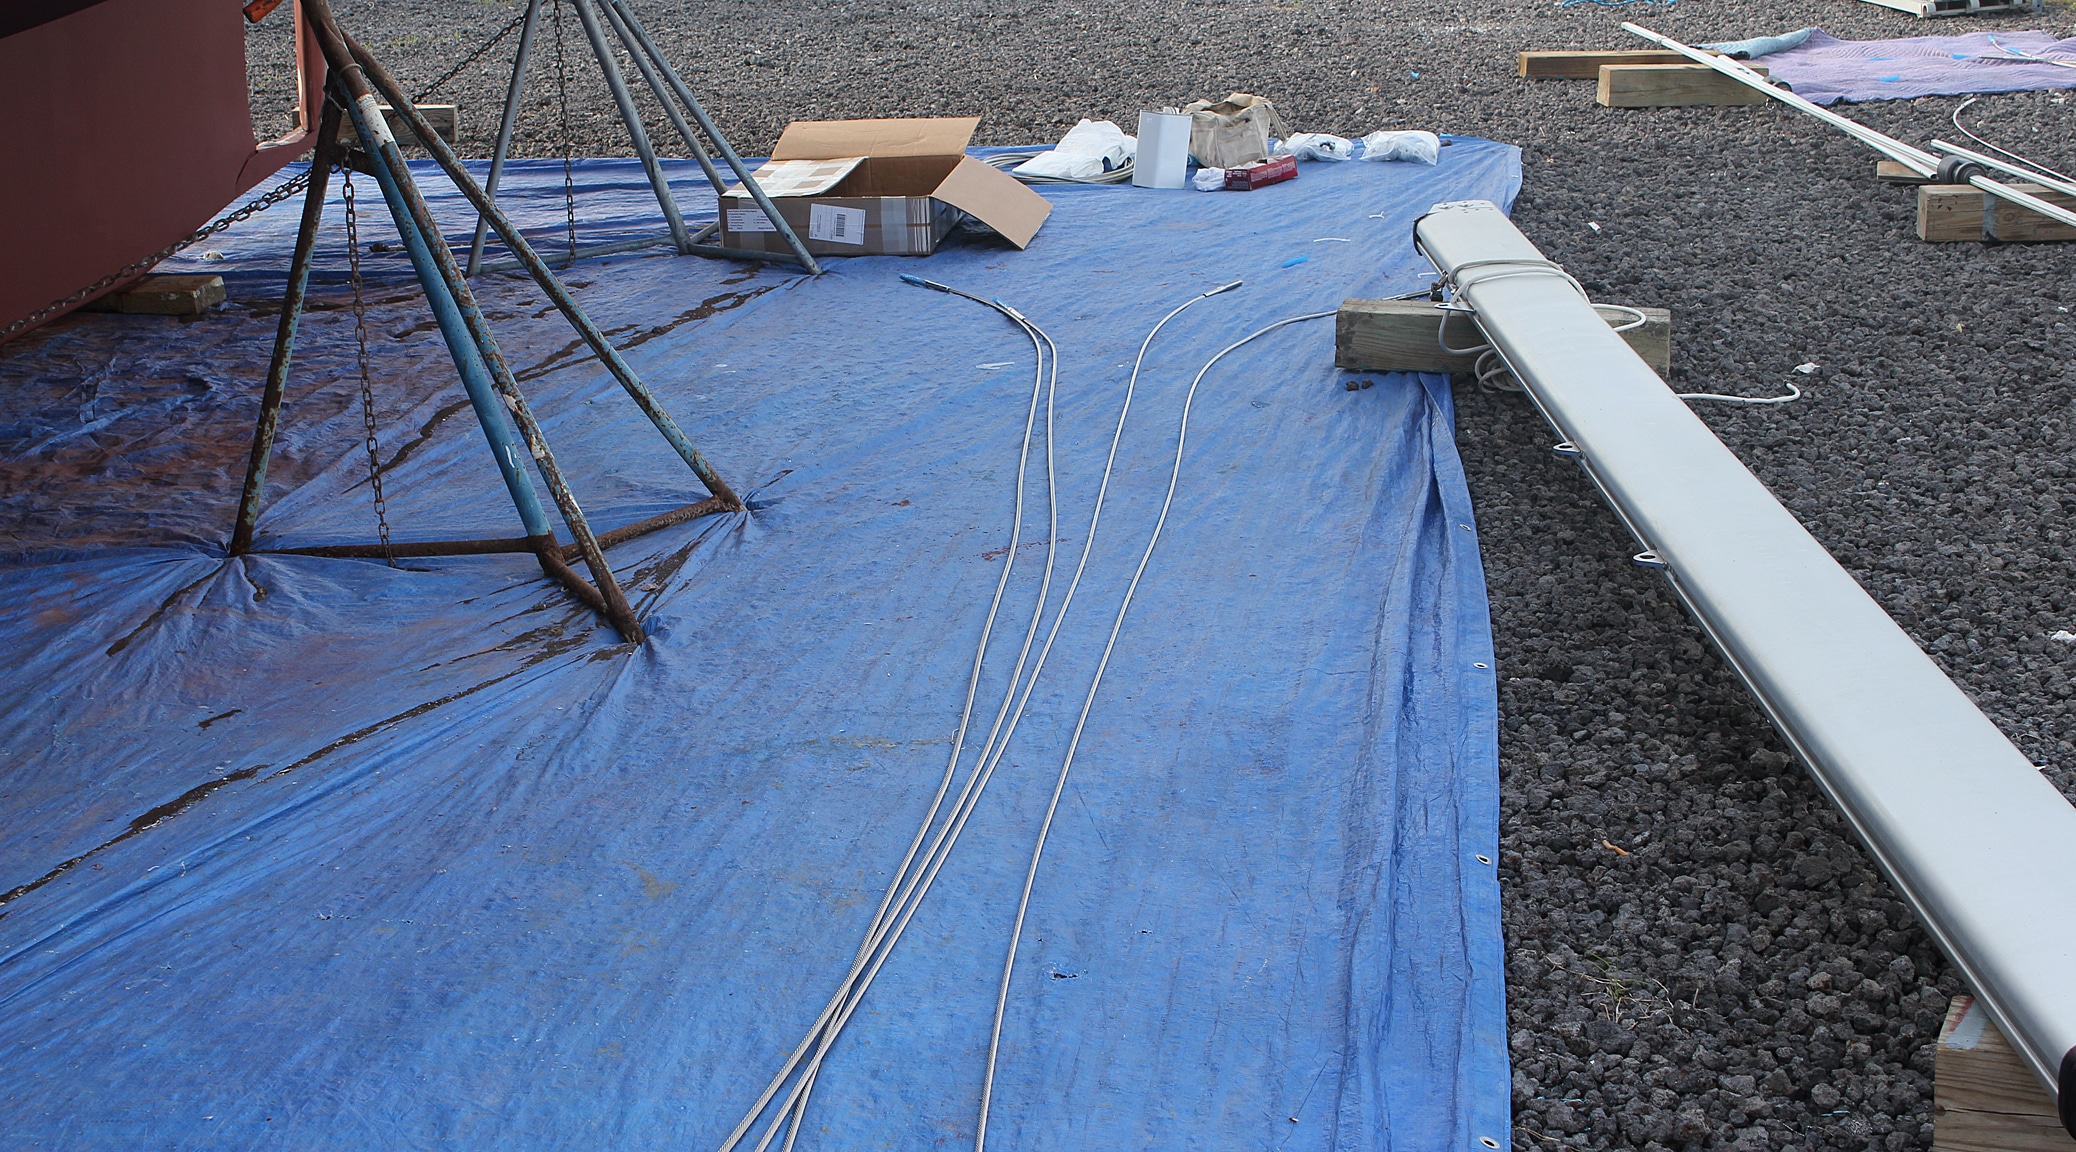
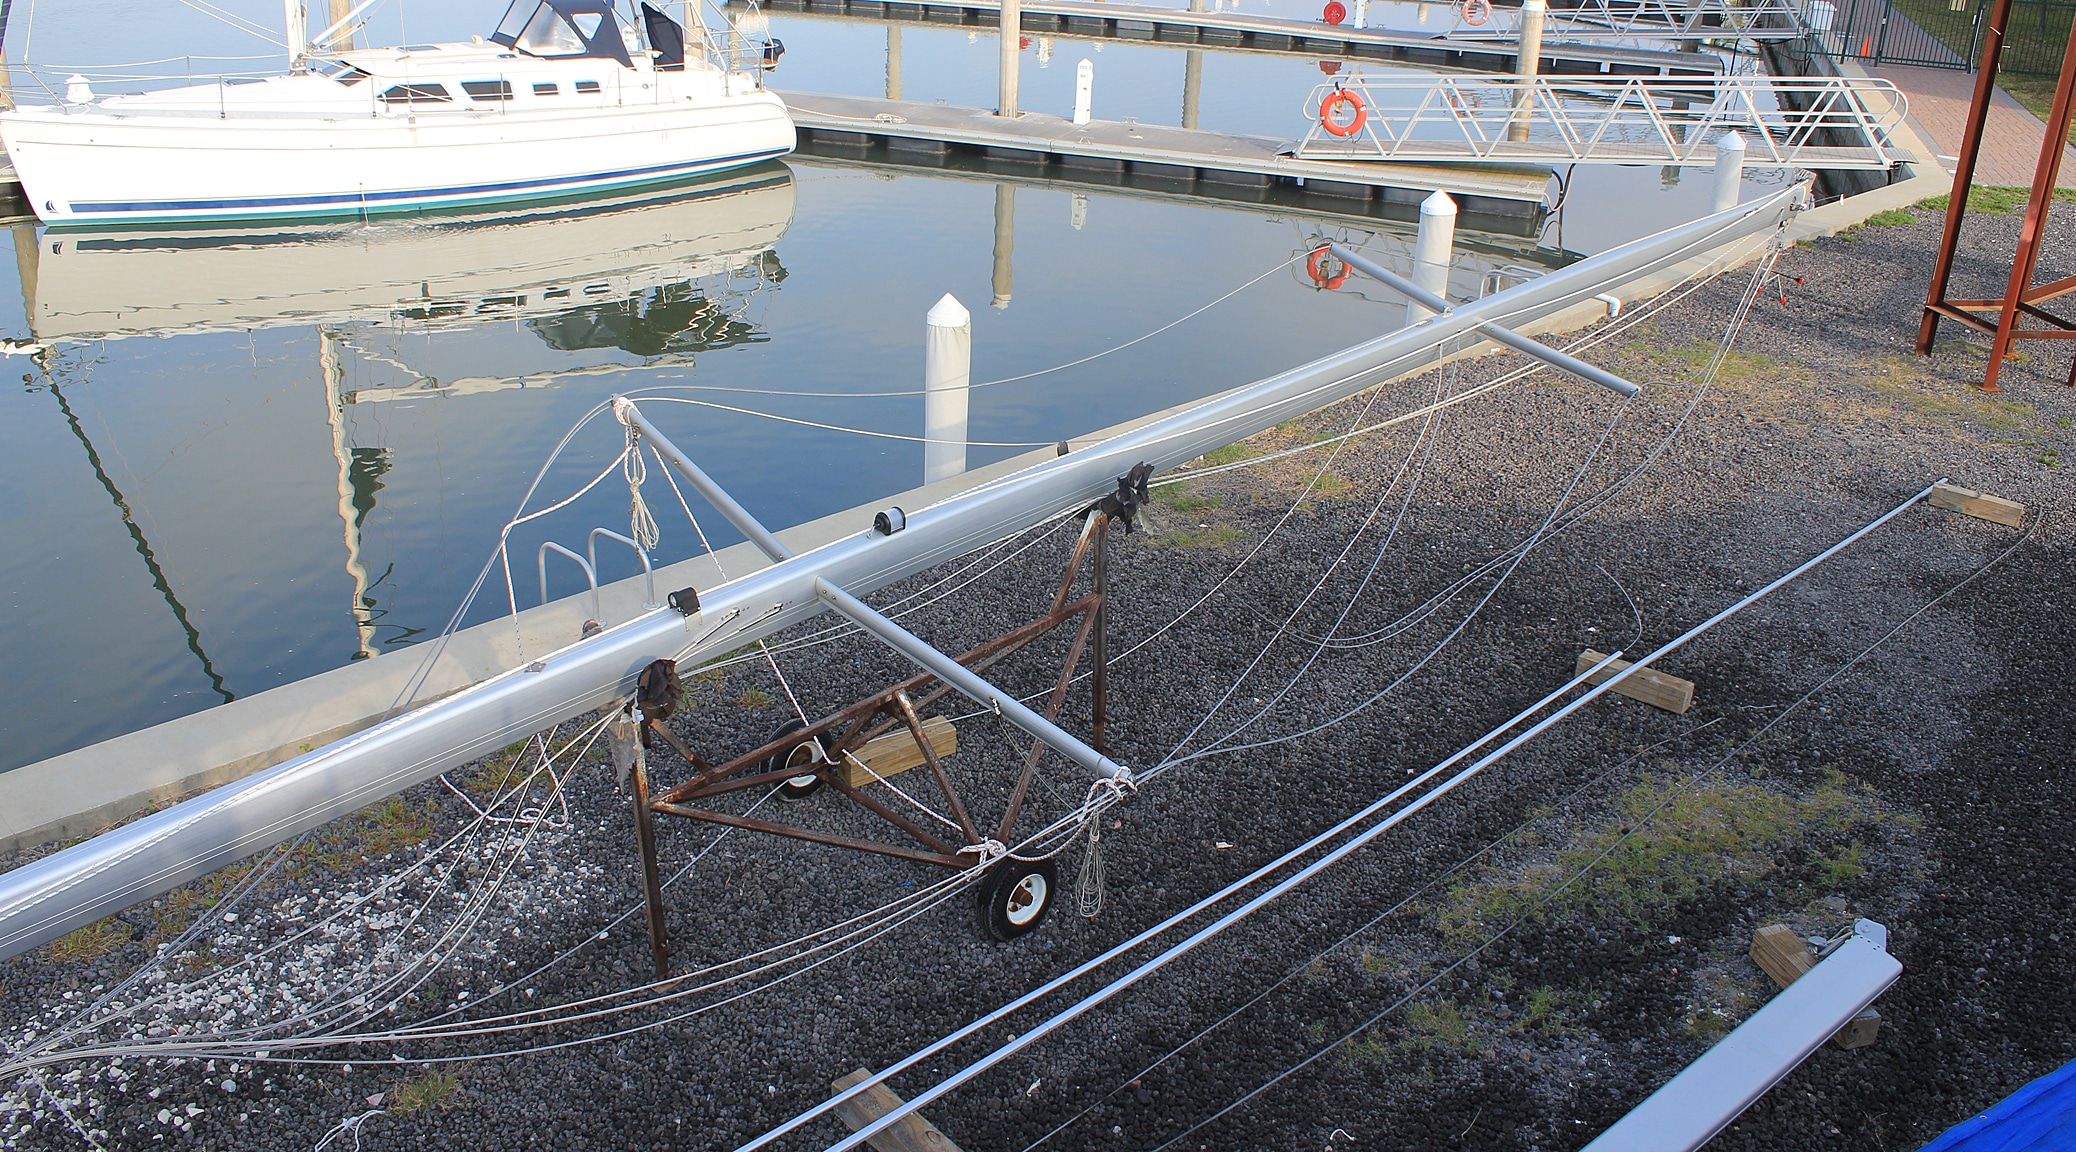
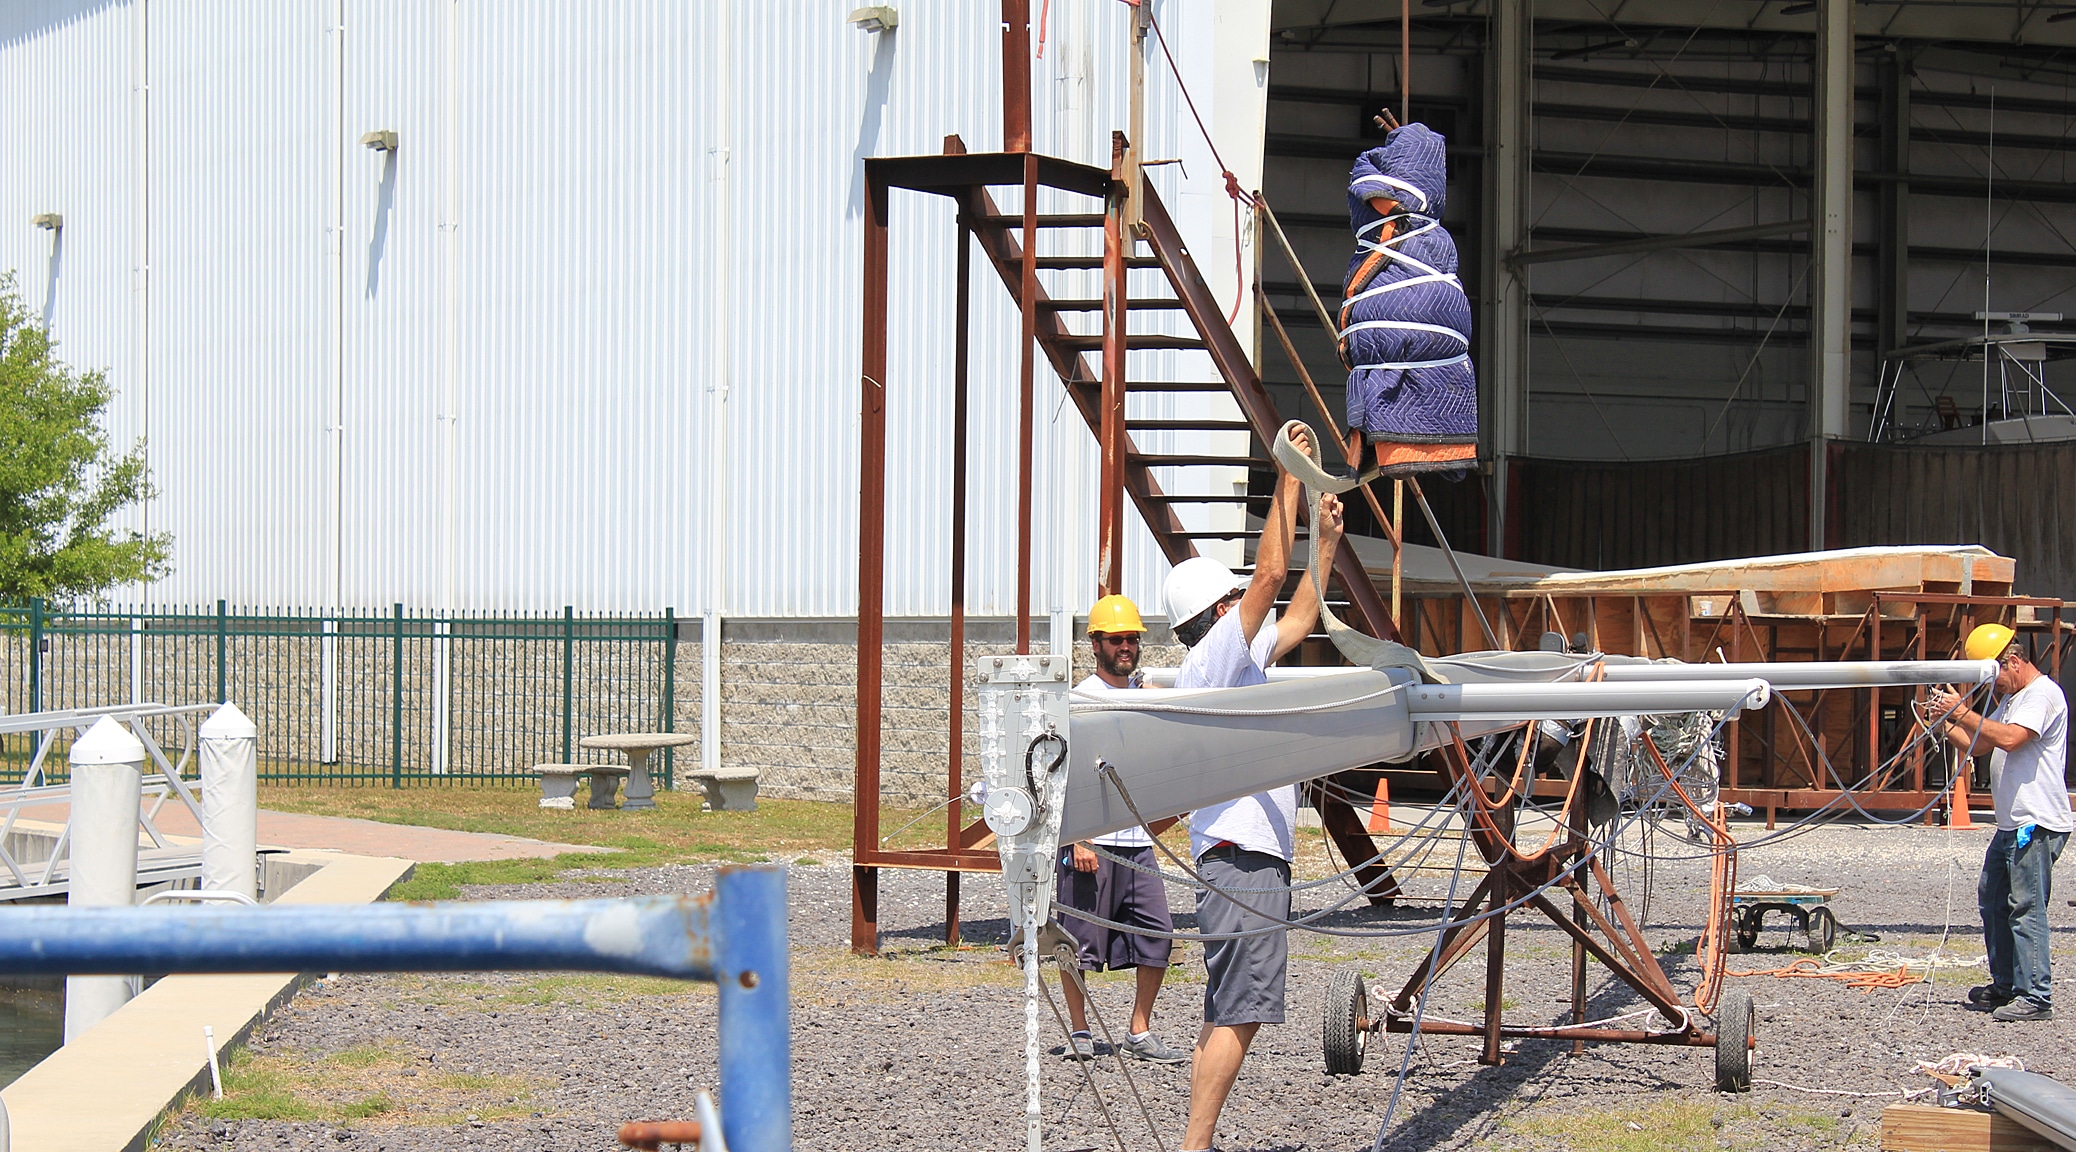
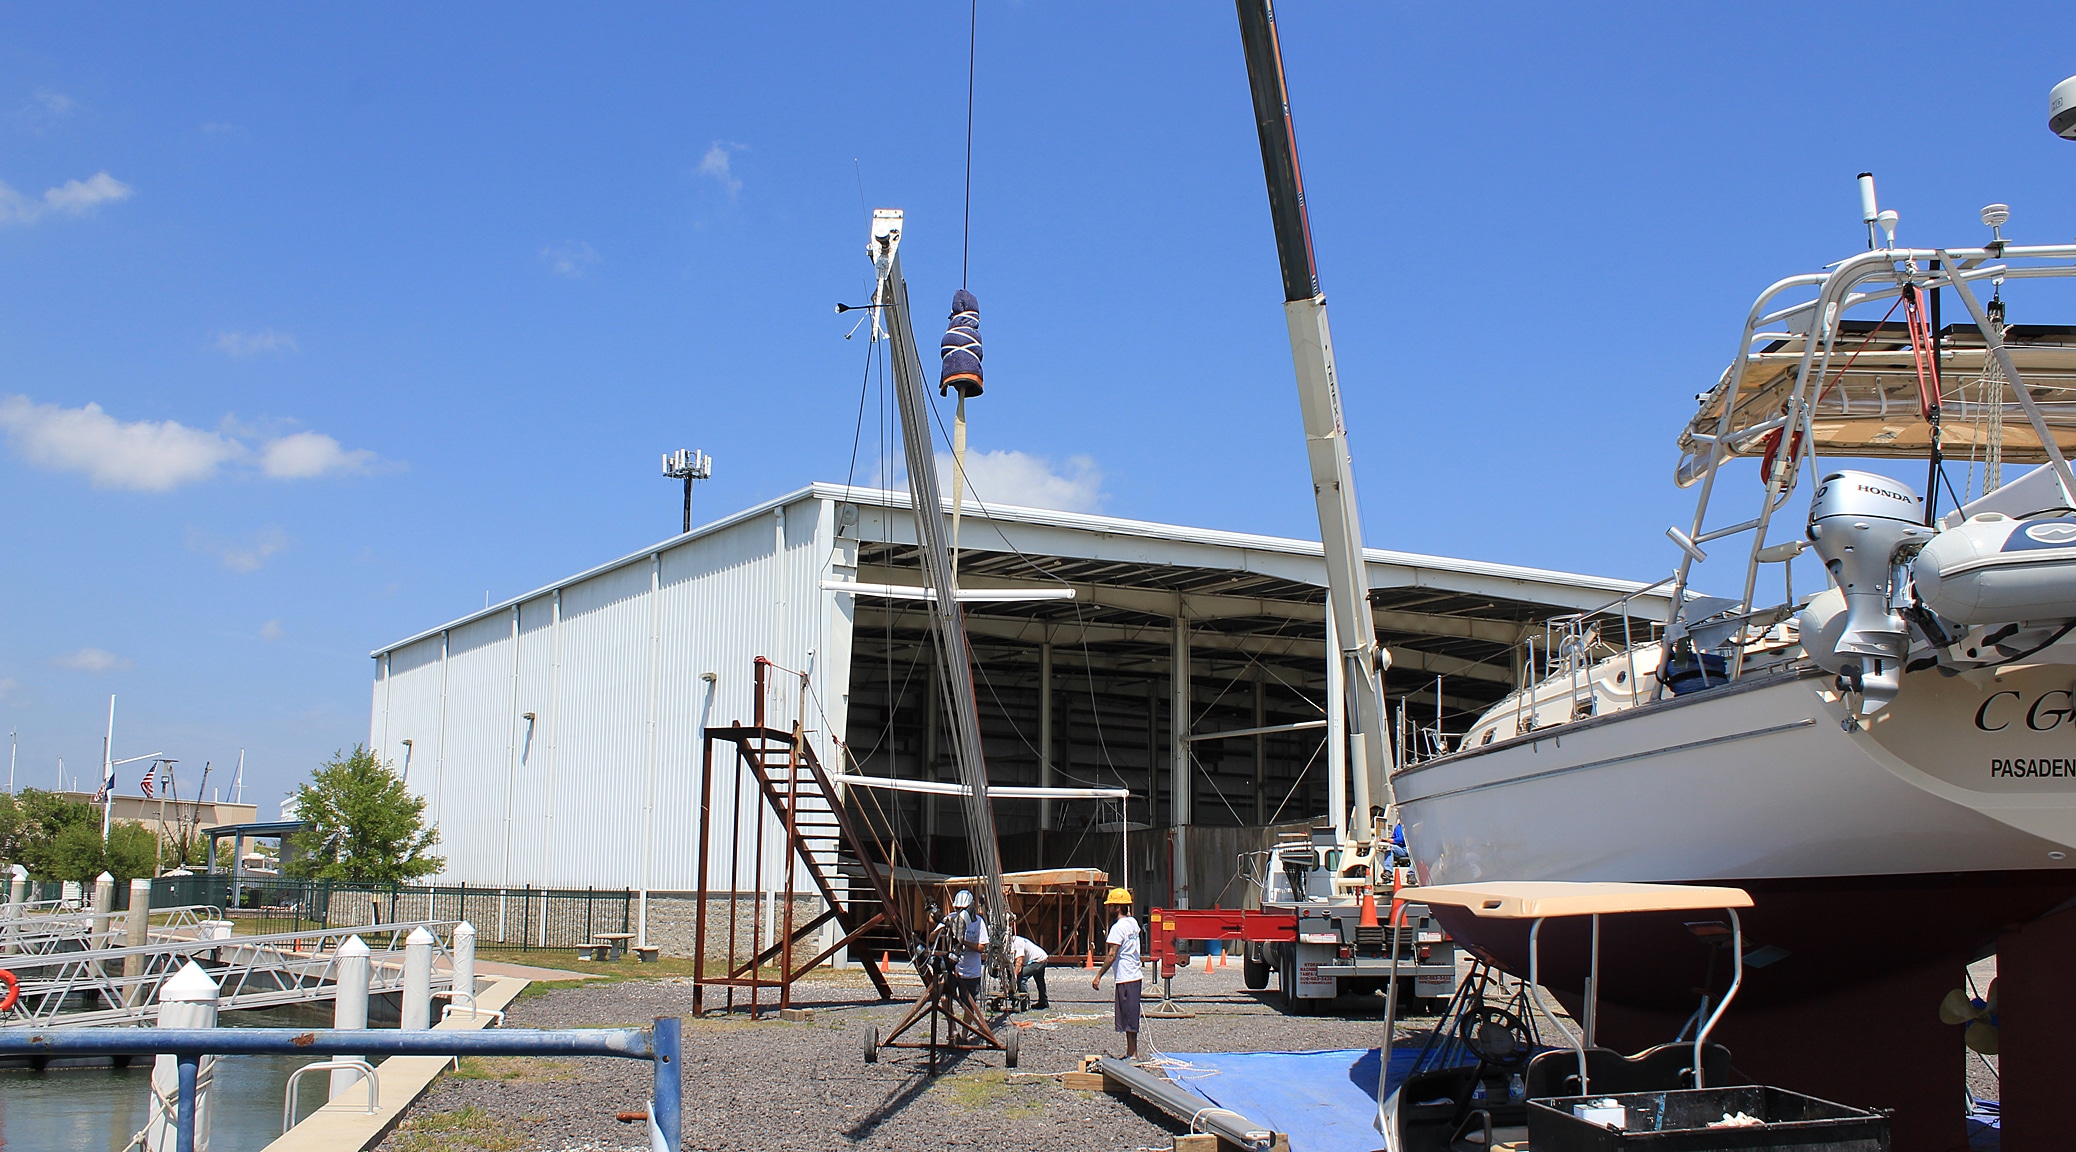
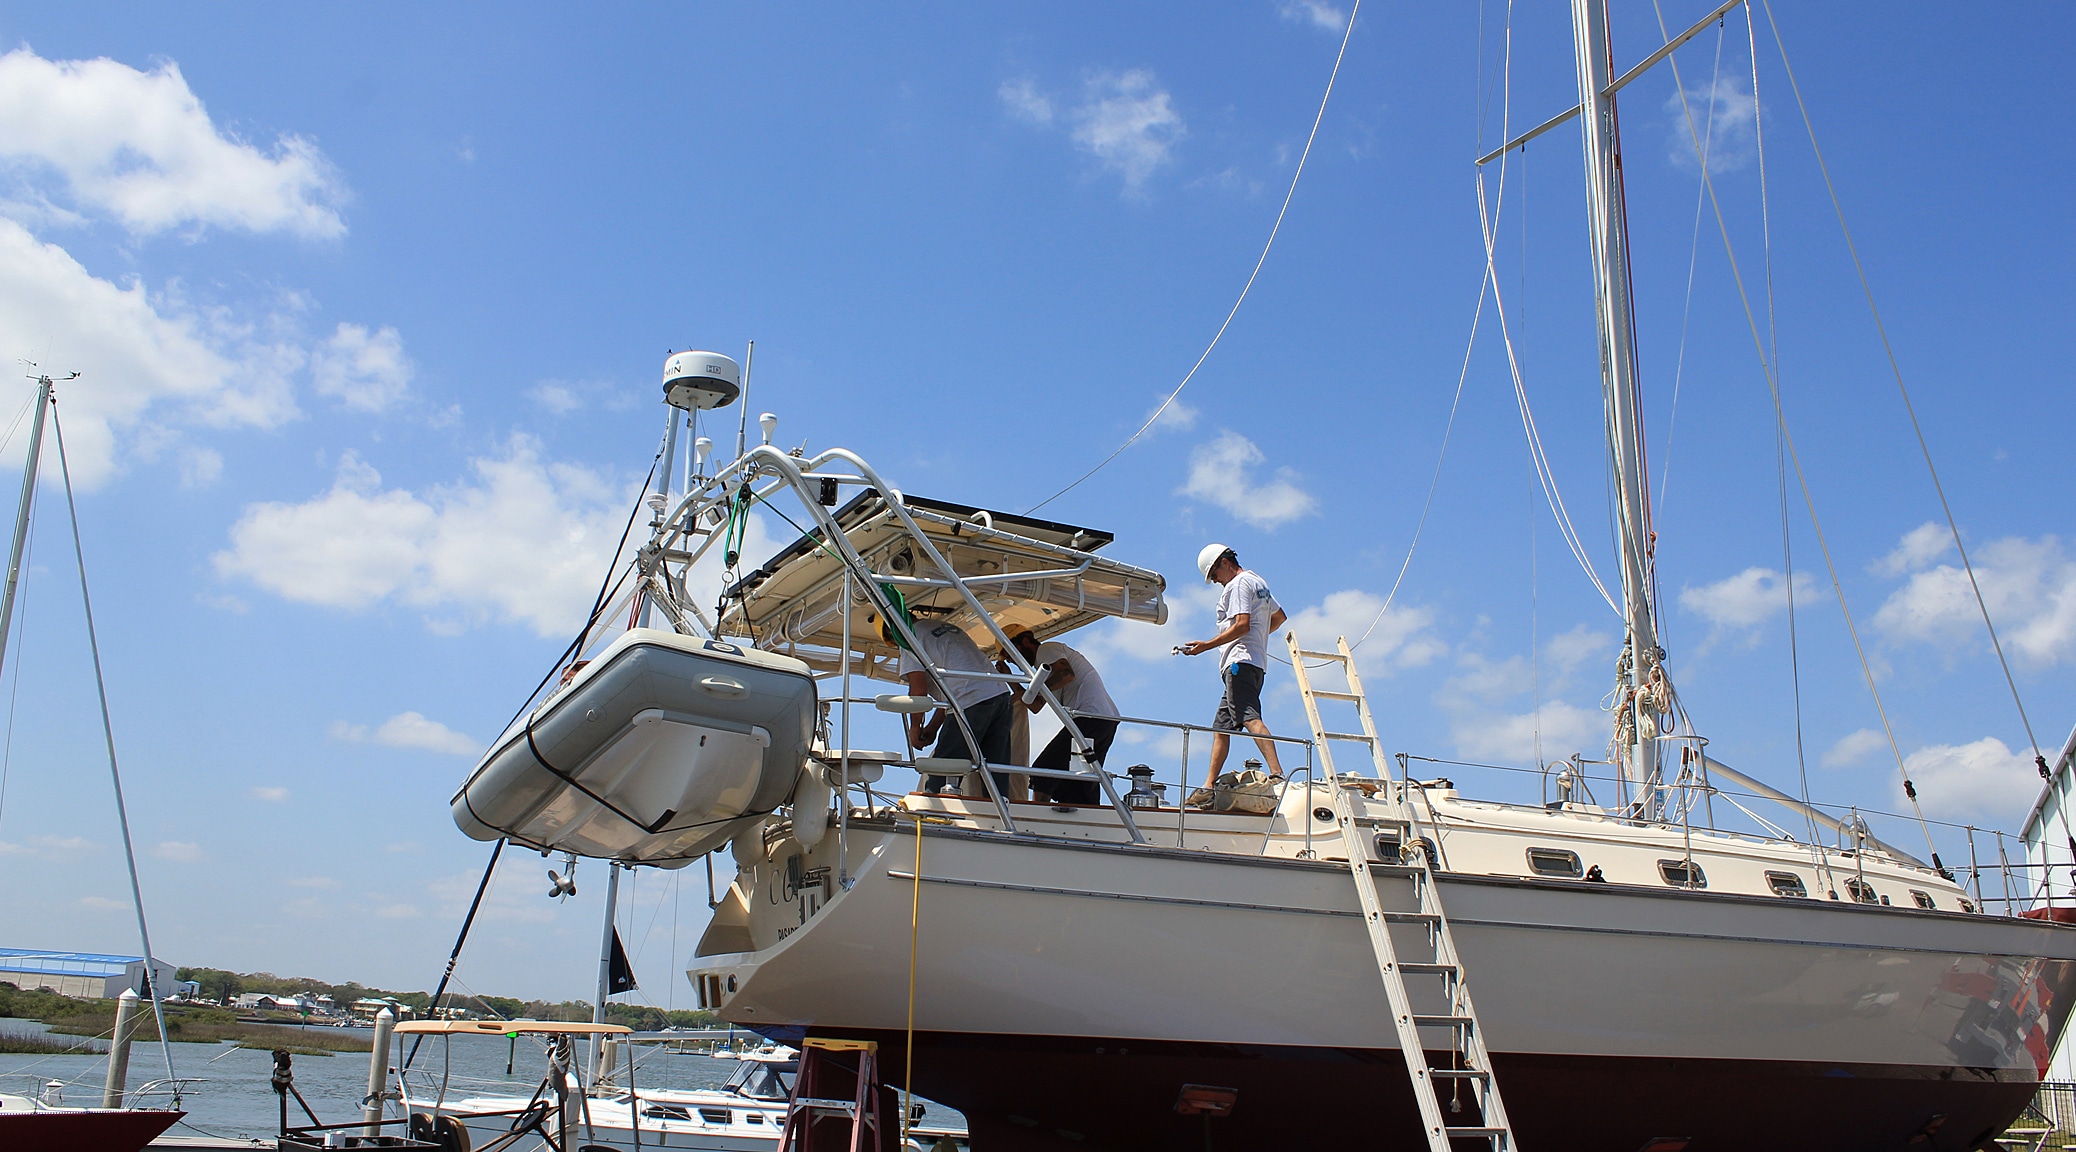
Our new standing rigging arrived this past Wednesday. It took two days to unpack it, make sure it was all correct, and then attach it all to the mast. The crane arrived on Friday and lifted the mast with it’s new rigging back onto the boat. The pictures below show how that whole sequence of events happened.

Since it was late on a Friday when all this work was completed, the boat won’t be put back in the water until Monday (the yard is closed on the weekends). It then has to sit in the water for 24 hours before the final rigging tension adjustments can be made and we can return to our home slip. We will then have one final post in this series (Part 5) showing the launching and all the other work we accomplished with the boat out of the water.

Part4-1
You may remember this picture from Part 2. This is what the mast step looked like immediately after the mast was pulled out of the boat. Filthy. On top of the dirt and grime, there was now the smell of petroleum because of all the lubricant that was used to free the mast from the collar just above. You can see the oil they used in the right side of the picture.
Part4-2
Paula spent the better part of half a day getting it all cleaned up. Looks beautiful and smells sweet!
Part4-3
With the mast step all cleaned, one of the rigging workers is now replacing the four bolts on the mast step that had to be removed when the mast was lifted out.
Part4-4
You may also remember this picture from Part 2. It is the mast collar on deck where the mast was stuck for so long before it finally broke free. It was badly pitted and corroded, but there was plenty of metal left to salvage it for continued use. This is not a load-bearing part and does not require much strength. Its sole purpose is to provide a “form” for a rubber seal that goes around the outside of the mast and inside this collar so rain won’t get in.
Part4-5
The collar was removed from the boat, sand blasted to bright metal, and then given several coats of epoxy paint. The inside of the hole through the deck was cleaned up and the refurbished collar put back in place with new sealant.
Part4-6
The new rigging arrived in boxes and was first unpacked to make sure it was all there (not all the wires are shown here).
Part4-7
The wires were then all laid out to make sure they were the correct lengths and properly marked.
Part4-8
Next, the new wires were attached to the mast.
Part4-9
The bottom ends of all the wires had to be bundled together so they won’t fly all over the place when the mast is lifted by the crane. This was carefully done to minimize any tangling on deck once the mast was put in place. At this point, the mast is all prepped and ready to be installed back on the boat.
Part4-10
The crane arrived on Friday afternoon. It’s amazingly compact in its “stowed” configuration.
Part4-11
The crane is now extended and the “ball” end (covered with a purple blanket for protection) is moved over to where it will attach to the mast.
Part4-12
The crane attaches to the mast via a very thick webbed strap that is simply looped back on itself. A line is then tied to this strap and run all the way down the mast to a cleat at its’ base. This line keeps the strap from sliding up the mast when it is lifted and also helps keep the mast in a vertical position when it is in the air.
Part4-13
Up it goes! They positioned a small “dolly” under the base of the mast and as the crane tilted it up the base sat on this dolly. Once the mast was vertical (but not totally off the ground), they just wheeled it over to the boat on the dolly.
Part4-14
Here the mast is now lifted off the dolly and hoisted up onto the deck of the boat.
Part4-15
The crane now carefully lowers the mast very slowly so the riggers can position it just right to go through the collar on the deck and onto the mast step down below on top of the keel.
Part4-16
As the mast is goes down into the boat, the rigger now starts unbundling all the new wires that will hold it up.
Part4-17
The mast is now in place with several wires attached and the riggers are connecting the rest.

One Response

Leave a Reply

Your email address will not be published. Required fields are marked *